

Oil paintings have been used by artists for centuries to create realistic images that capture the attention of viewers and transport them to a different time and place. Creating an oil painting that looks realistic requires a special set of skills, some of which are unique to this particular medium. In this article, you’ll learn how to paint realistically, using tips and techniques for painting with oils.
Painting in oils takes patience, practice, and skill. It’s not something you can pick up overnight or master in just a few weeks; it takes dedication and hard work. But with a little guidance, such as the tips and techniques provided here, anyone can learn how to paint in oils and create beautiful and professional pieces.
So if you’re ready to start exploring the world of oil painting and creating works of art that look almost too real to be true, then read on! This article will provide all the information you need to get started on your journey towards mastering this incredible medium.
.
Oil Painting Material and Tools Needed
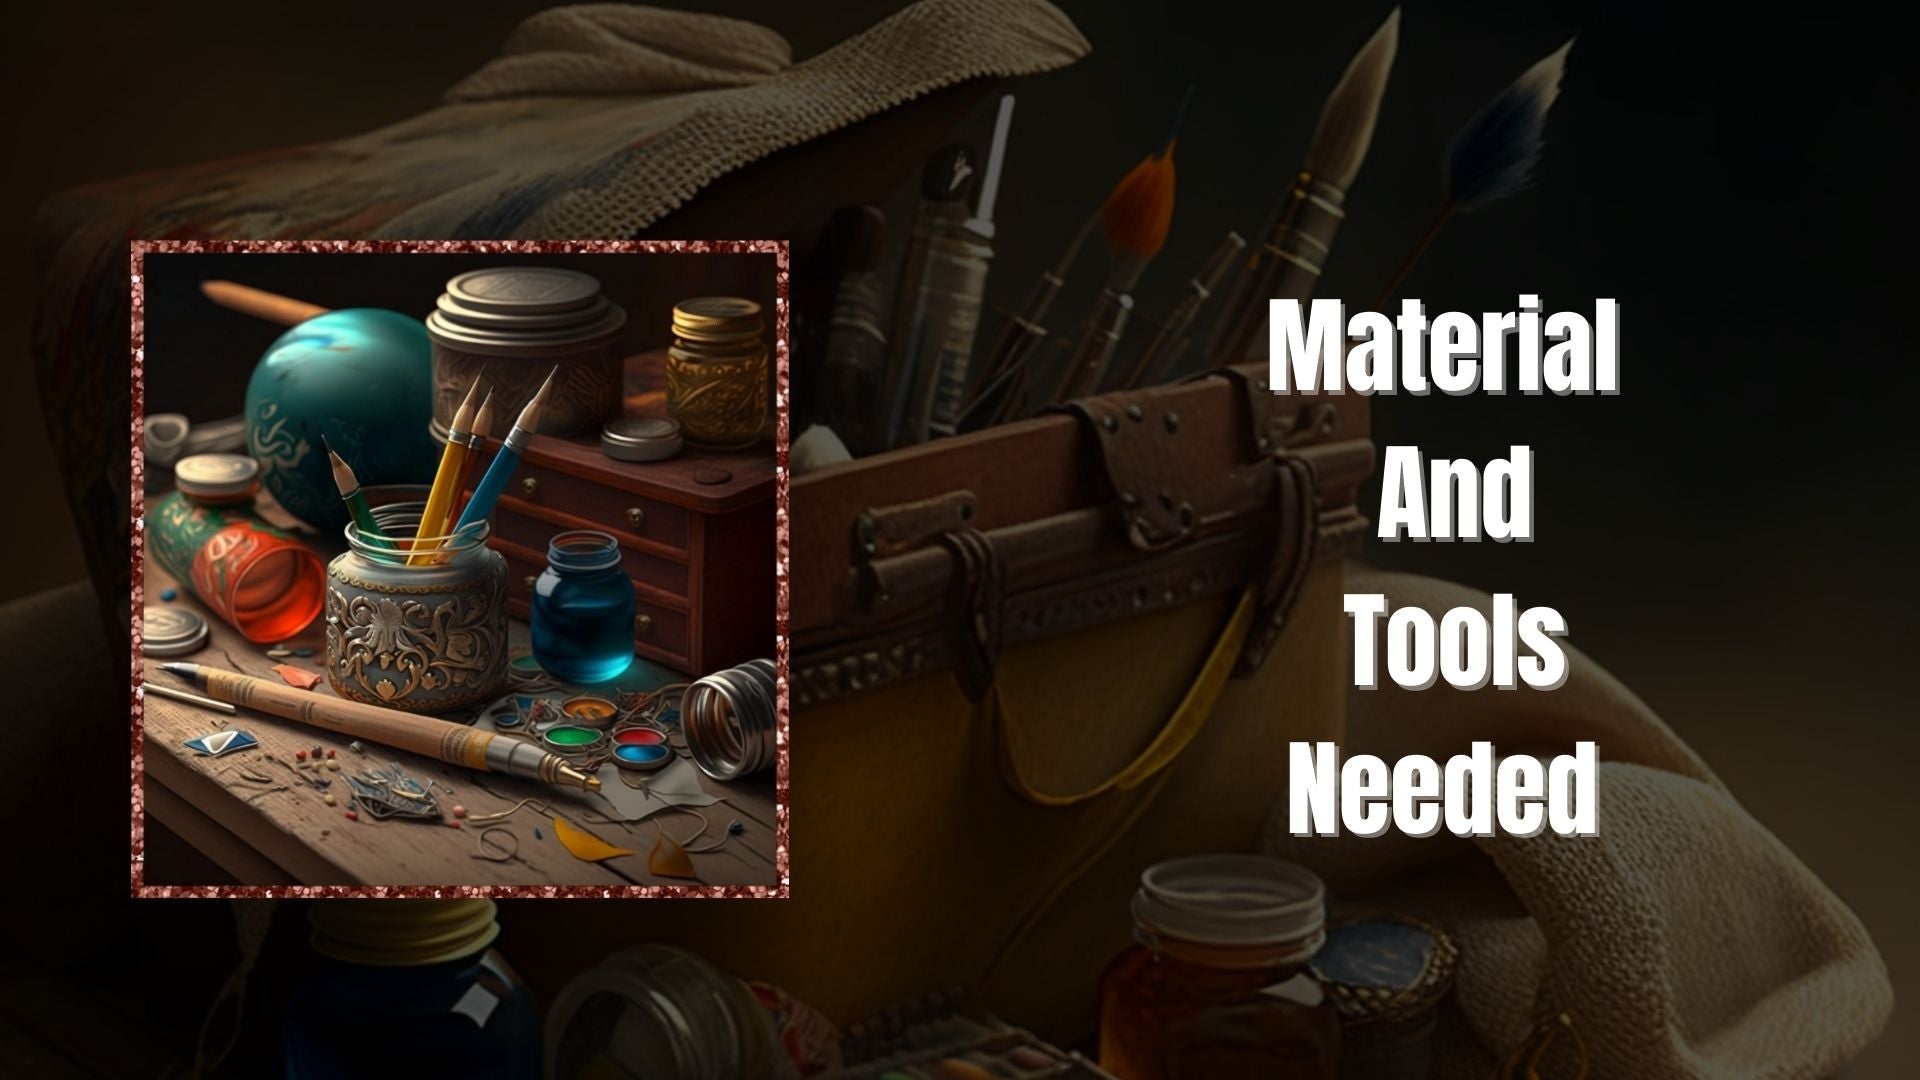
Ah, the art of oil painting. It has been used to create masterpieces for centuries. But what do you need to become an oil painter? Well, first off, you’ll require some supplies. The main things you’ll need are oil paint, canvas boards, paintbrushes, and palette knives.
When picking out your materials, be sure to get high-quality items that will last a long time. You can find a variety of different types and brands in art stores or online. Good quality brushes make a huge difference, so don’t skimp on the good stuff!
Now that you have all your materials together it’s time to start preparing your canvas.
Preparing the Canvas

There are five key steps to preparing your canvas:
- Stretch your canvas - Stretching a canvas involves attaching it to a wooden frame or strainer; this ensures that your painting will remain flat and secure while you paint on it. Make sure the canvas is perfectly smooth and taut like a drum skin. You then attach the canvas to the frame using staples or nails.
- Prime your canvas - Priming the canvas with gesso creates a smooth, even surface for you to work on and also seals the material from any potential damage from oils or solvents. Between coats of gesso, sand down each layer to avoid clumping and other unwanted textures.
- Prepare the surface - Sanding down the surface of the gessoed canvas is essential for preparing an even surface where oil paints can be applied more smoothly. Start off with a coarser grit and work down to the finest.
- Size your canvas - Sizing your canvas refers to covering it with rabbit-skin glue before priming; this helps protect against discoloration caused by natural oils in the paint.
- Pre-stain the canvas - Pre-staining allows you to add color vibrance to your painting without waiting until you’re finished applying pigment; you can use diluted paint pigments or other materials like coffee to achieve interesting effects before you begin painting.
By following these steps and carefully preparing your canvas, you’ll create a solid foundation for realistic oil paintings that will last for years! With a properly prepared canvas, now we can move on to exploring color mixing techniques for vibrant compositions!
Color Mixing Techniques

By understanding the basics of color-mixing, artists create an array of stunning and realistic hues in their oil-paintings. Pigments range from deep blues to bright yellows, so it’s important to know what color combinations will work well together. Once you’ve chosen the right colors for your painting, practice basic mixing techniques such as adding white or black to adjust the intensity of a tone or adding two complementary colors together to create a new shade. Experimenting with different blending styles and techniques can help you achieve a more realistic look in your paintings.
When mixing colors, mix enough paint so you don’t run out mid-way through. This will save you a whole lot of time later on! It’s also important to keep track of paint mixes by labeling them accordingly so that you can recreate them if needed. Keep track of how much of each color you’ve used, and practice recreating paint swatches to get the hang of it. This will ensure consistency throughout your painting. As you get more comfortable with mixing techniques, try creating more complex shades like browns, purples, and grays which can bring life into your artwork. With these tips on color-mixing in mind, you’ll be able to achieve a beautiful and realistic finish in all your oil paintings. Now let’s move on to drawing guidelines for creating lifelike figures and scenes.
Drawing Guidelines
Before you begin applying paint, you must first learn some drawing guidelines and sketching techniques to outline the areas where paint will go.

First, using light pencil lines and simple shapes, create an outline of your subject. This gives you a better idea of the size and shape of the image on the canvas so you know where everything needs to go when painting. ‘Use these pencil lines as a reference point when adding value changes such as highlights or shadows throughout your painting. When sketching, don’t add too much detail. First, you don’t want to spend too much time on something that is going to be covered up. Second, if you paint over graphite with oil paint, the graphite will smudge into the paint, which is noticeable with lighter shades.
The more prepared your sketch is before painting, the easier it will be for you to achieve realistic results during the painting process. Before you begin painting, practice sketches in a sketchbook or on large pieces of paper that you can reference while painting. If you have several attempts of a sketch on a canvas, you will likely see it through the more transparent areas of paint. This is why you should save the canvas for only very light strokes of the pencil once you have practiced the sketch and decided how you want the painting to look.
With these drawing guidelines in mind, you are now ready to start painting! By following these tips and techniques for sketching out an image, you’ll be able to create a realistic oil painting with ease. Now it’s time to move on to the exciting part: applying paint!
Applying Paint

Once you have gathered the necessary materials and prepared your canvas, it’s time to begin applying paint. When applying paint, use light brushstrokes and apply multiple layers of thinned paint to create a smooth finish. To thin the paint, mix it with an oil painting medium, such as linseed oil or turpentine. This is for better blending and control of the color when applied in layers. Be sure not to add too much medium, as this will cause the paint to run off the canvas.
Once you have applied several layers of paint on your canvas, you can begin blending and smoothing colors together to create depth and texture.
Blending and Smoothing Colors
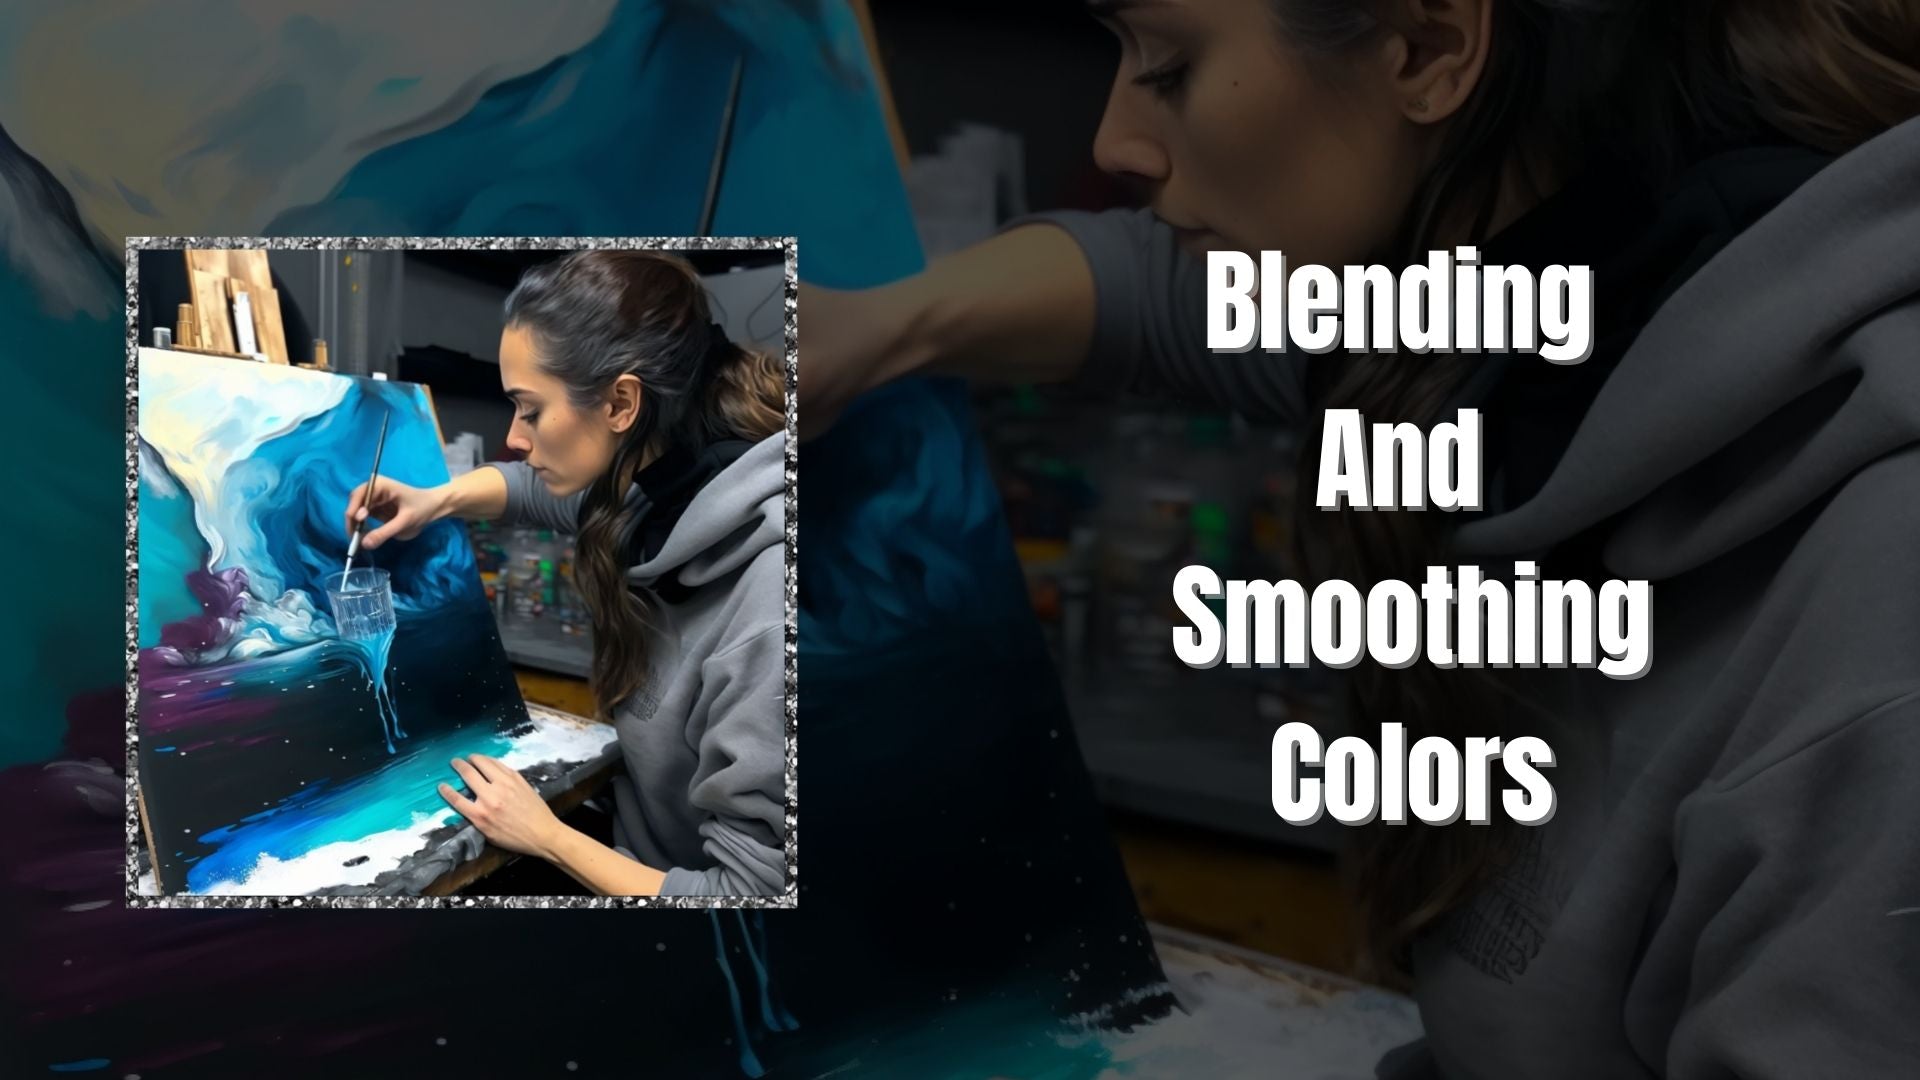
Blending and smoothing colors can take up to 75% of the total time spent on a painting and is an essential part of creating realistic oil paintings, as it creates depth and texture. To begin blending and smoothing colors in an oil painting, mix your chosen hues with a palette knife. Consider the ratio of lighter tones to darker ones For example, if you’re mixing a green hue, one part yellow may be mixed with two parts blue for a brighter and warmer green. For a deeper and darker green, you would mix in more blues.
Next comes the process of blending these hues together. Start by using soft strokes with a brush to slowly blend and smooth out color transitions across the canvas. The more layers you add on top of each other, the smoother your final image will look. To ensure an even blend across an entire canvas, use long strokes when applying oil paints instead of short ones. You can also use what is called “scumbling” or “dry brushing”, to achieve different textures in your painting. This involves taking small amounts of paint on a dry brush and lightly dragging it over already painted areas in order to achieve subtle changes in color.
It’s important not to rush this stage. Blending colors takes patience but will result in stunning works of art if done properly! By carefully considering color proportions and using techniques such as scumbling or dry brushing, you can create beautiful pieces that are full of depth and texture. With these tips in mind, you will be ready to move onto adding details and highlights into your oil paintings.
Adding Details and Highlights
Once the larger shapes of a painting are established, it’s time to add detailing and highlights. To create a realistic effect, oil painters use a variety of brushwork techniques. Line work defines edges and creates intricate details like grasses or hair. Brushstrokes can suggest texture in various elements, such as rocks, trees, and fabrics. These smaller details will bring life to the painting, so they should not be overlooked.
Highlights can also enhance an oil painting’s realism by adding shine and contrast. One technique is to mix a small amount of white in with existing colors on the canvas. This will increase value contrast and make shadows appear darker. Another approach is to use thick paint for the highlights - this adds texture and makes them stand out from the rest of the painting. Experimenting with different brushes and paint consistencies is key here.

Finally, take some time to review your painting up close before moving on to finishing touches. Make sure you’re happy with all the details and highlights you’ve added, and make adjustments if needed. When everything looks just right, it’s time to step into the next stage of this oil painting journey: bringing it all together with finishing touches!
Finishing Touches
Once the details and highlights have been added to your painting, it is time for the finishing touches. Varnishing, paint effects, texture techniques, glazing technique, and variegated glazing ensure your painting will look its best.
Varnishing protects the painting from dust and dirt buildup over time. It also allows for a glossy finish ensuring your painting looks as vibrant when viewed up close as when viewed from a distance. Make sure you pick the right kind of varnish based on the type of oil paints you used and read the instructions carefully before applying.

Paint effects can give your painting an extra layer of depth and life-like quality. You can use different types of brush strokes or sponging techniques to achieve various textures in your painting. Glazing is great for creating subtle color variations which make the colors look more realistic. If you are feeling adventurous, try out a variegated glazing technique where you mix different colors together for unique results!
To complete your masterpiece, consider framing it with acid free mats and backing boards so that it is protected from wear and tear over time. This will also add a nice touch to any room’s décor when displayed! These finishing touches are essential in bringing out the very best in your oil paintings. With proper care and maintenance, they can last generations.!
Framing Your Painting
Once your painting is finished, it’s time to frame it. This is an important part of the painting process and can make a huge difference in the overall look of your piece. There are several framing techniques that you can use to enhance the beauty of your work. The first step is to choose a frame for your painting. It should be one that fits the size of the painting and complements the style of your artwork.
When selecting the size of your frame, consider how much matting you will need around your work. Matting adds depth and contrast and protects the edges of the painting from damage. Choose matting that complements your artwork to create a stunning presentation.

It’s important to take your time when choosing frames and mats for your paintings, so that they are framed properly and look their best when hung on display. With some careful consideration, you can create an attractive effect with frames and mats that bring out the beauty in any painting. Moving on, let’s explore strategies for preserving oil paintings for years to come.
Preservation Strategies
Preserving a handcrafted oil painting is essential for its longevity, allowing it to be cherished forever. There are several preservation strategies that can ensure the longevity of your painting.
First and foremost, consider the materials you use when creating your masterpiece. Quality art supplies are key and should not be compromised on. Think professional-grade paints, brushes, and canvas. Furthermore, the right kind of canvas is essential for the long-term health of an oil painting. It should be acid-free and made with 100% cotton or linen. This will protect against wrinkles and other signs of deterioration.

When seeking out an appropriate method for storing your artwork, look for materials that won’t damage or harm the painting. Make sure to store the painting in a climate-controlled environment with low humidity levels and avoid direct sunlight exposure. Additionally, avoid using any solvents while cleaning your painting. Simply dusting it regularly should suffice. Finally, if you choose to frame your work of art, opt for UV-resistant glass that will protect it from harsh lighting and the build-up of dust particles.
By taking these steps to safeguard your work of art against environmental factors such as moisture and light, you’ll have peace of mind knowing that your oil painting has been preserved properly for many generations to come!
Conclusion
The painting process is full of choices and decisions. It’s up to the artist to decide how they want their painting to look, from the colors and textures used to the framing and preservation strategies. As the artist embarks on this journey, they should remember that each painting has its own unique story, a narrative that can only be told by them.
Painting is an expression of emotion and imagination; it’s a reflection of each person’s innermost thoughts and desires. Through their brushstrokes, artists are able to communicate with the world in a way that words cannot always do. Every painting created carries its creator’s spirit with it into eternity, telling stories that will last beyond an individual’s lifetime.
With these tips and techniques, you have the tools you need to create your own masterpiece. Paint with confidence, knowing that your work will be remembered for generations to come. May your paintings fill hearts with joy and minds with wonder!
Looking to capture your special moments with your loved ones in a unique and timeless way? Our couple portrait painting service offers you the perfect opportunity to do so. Our skilled artists use oil painting techniques to create a masterpiece that truly captures the beauty and essence of your relationship. Order now and treasure your memories forever