

Welcome to the wonderful world of oil painting! If you’re someone who’s just starting out or an experienced artist looking for new techniques, this guide is for you. With a few simple steps, you can learn how to master the art of oil painting.
Oil painting is a great way to create beautiful artwork, and it allows you to express yourself through vibrant colors and textures. IWith practice and dedication, anyone can master this medium and create amazing pieces of art.
In this step-by-step guide, you’ll find everything you need to know about mastering oil paint. From understanding the basics of color theory and brush strokes, to mastering more advanced techniques like glazing and blending, this guide provides tips and tricks that will help you become an expert at creating stunning oil paintings. Let's get started!
Types of Oil Paints

Oil painting is a popular form of art that uses oil paints to create a vivid, blended effect. Oil paints have a naturally glossy finish and are versatile enough to be used for traditional brushstrokes or more experimental techniques. When it comes to oil painting, there are several types of oil paints and mediums available. Oil paints come in matte and semi-gloss finishes, as well as in transparent and opaque colors. Oil varnishes can be applied over the finished painting to give it a protective layer that will help preserve its colors over time. With all these options, you'll find plenty of ways to experiment with your oil paintings! Now that you know about the different types of oil paints, let's take a look at the essential tools and supplies you'll need for successful oil painting.
Essential Tools and Supplies
Now that you have a better understanding of the various types of oil paints available, it's time to get started on your artistic journey! To create a truly remarkable piece of art, you must possess the right tools and supplies. Fortunately, getting these essentials is incredibly simple--just an arm's length away! Let’s take you through the necessary tools and supplies for mastering oil painting.
To begin, you'll need oil brushes in various sizes and shapes. These can range from small-tipped round brushes to wide-headed flat brushes. The difference between oil brushes and other brushes is that brushes for oil painting have much longer handles. With these essential tools at hand, you'll be able to capture intricate details or express broad strokes of color.
The next item on your list should be canvas boards (or any other appropriate surface). Canvas boards are ideal for painting with oils because they have a relatively smooth texture that will help create even brushstrokes. Additionally, canvas boards are lightweight and easy to transport for outdoor painting sessions.
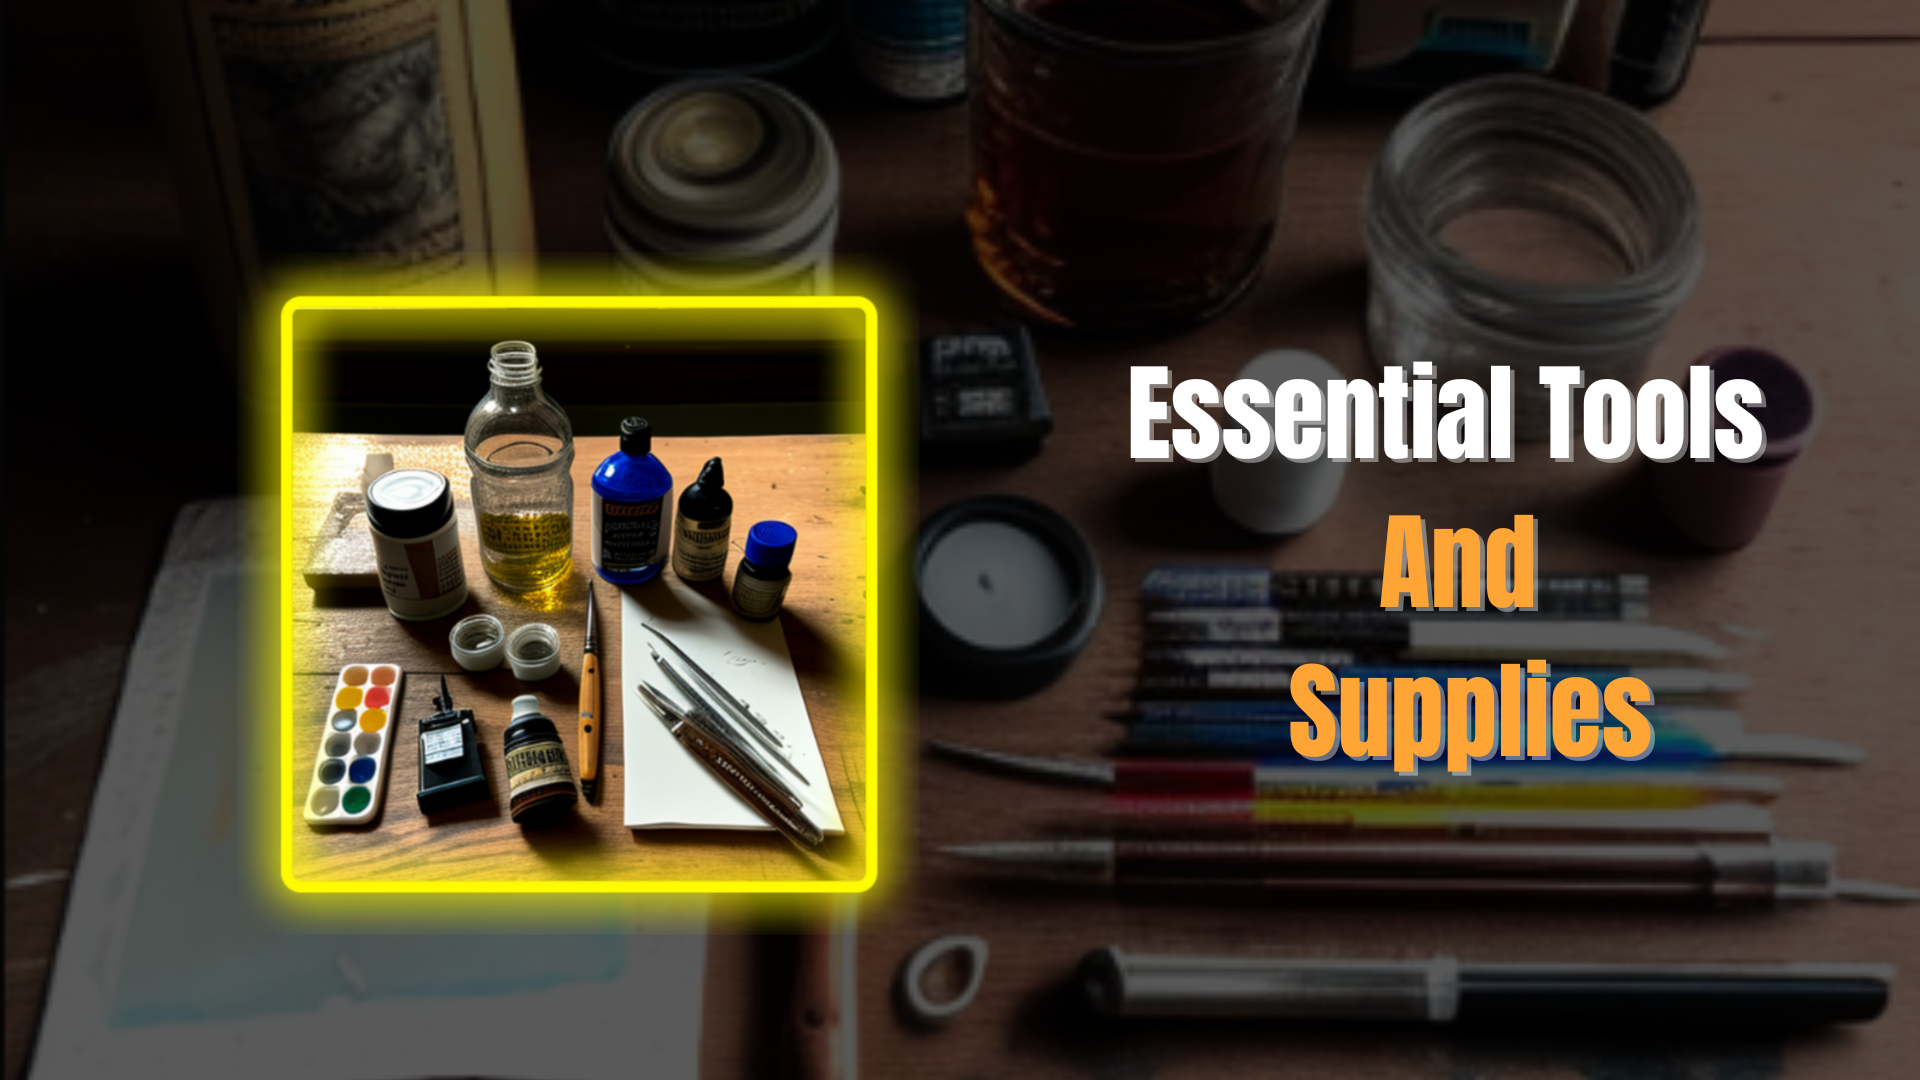
Here are some additional supplies you might need:
- Palette knives - Necessary for mixing colors and creating unique textures
- Round palette knives - Ideal for mixing thicker paint or scraping off excess paint
- Spatula palette knives - Best suited for spreading thin layers of paint across the canvas
- Solvent cleaner - Used to clean up after each painting session
- Linseed oil - Essential for protecting the canvas board from cracking over time
These essential tools and supplies will provide the foundation needed to start your journey into oil painting! Now that you have your painting supplies, it’s time to get into the painting process itself.
Color Mixing Basics
Mixing oil paint is a fundamental skill for any aspiring artist. It's the basis for creating tones and textures that can bring a painting to life. Understanding color mixing basics will help you mix the right colors, get the right hues, and create stunning results.
The first thing you’ll need is, of course, oil paint. Depending on your supplies, you may have anywhere from five to twenty-five tubes of paint. Each tube contains either a primary or secondary color. Primary colors are red, blue, and yellow; these can be mixed together to create almost all other colors. Secondary colors are created by mixing two primary colors together in specific amounts - like orange (red + yellow), green (blue + yellow), or purple (blue + red). One can get by with just the primaries and white and black, but there are more nuanced pigments that are created in unique ways and can’t be replicated by just mixing the primaries.
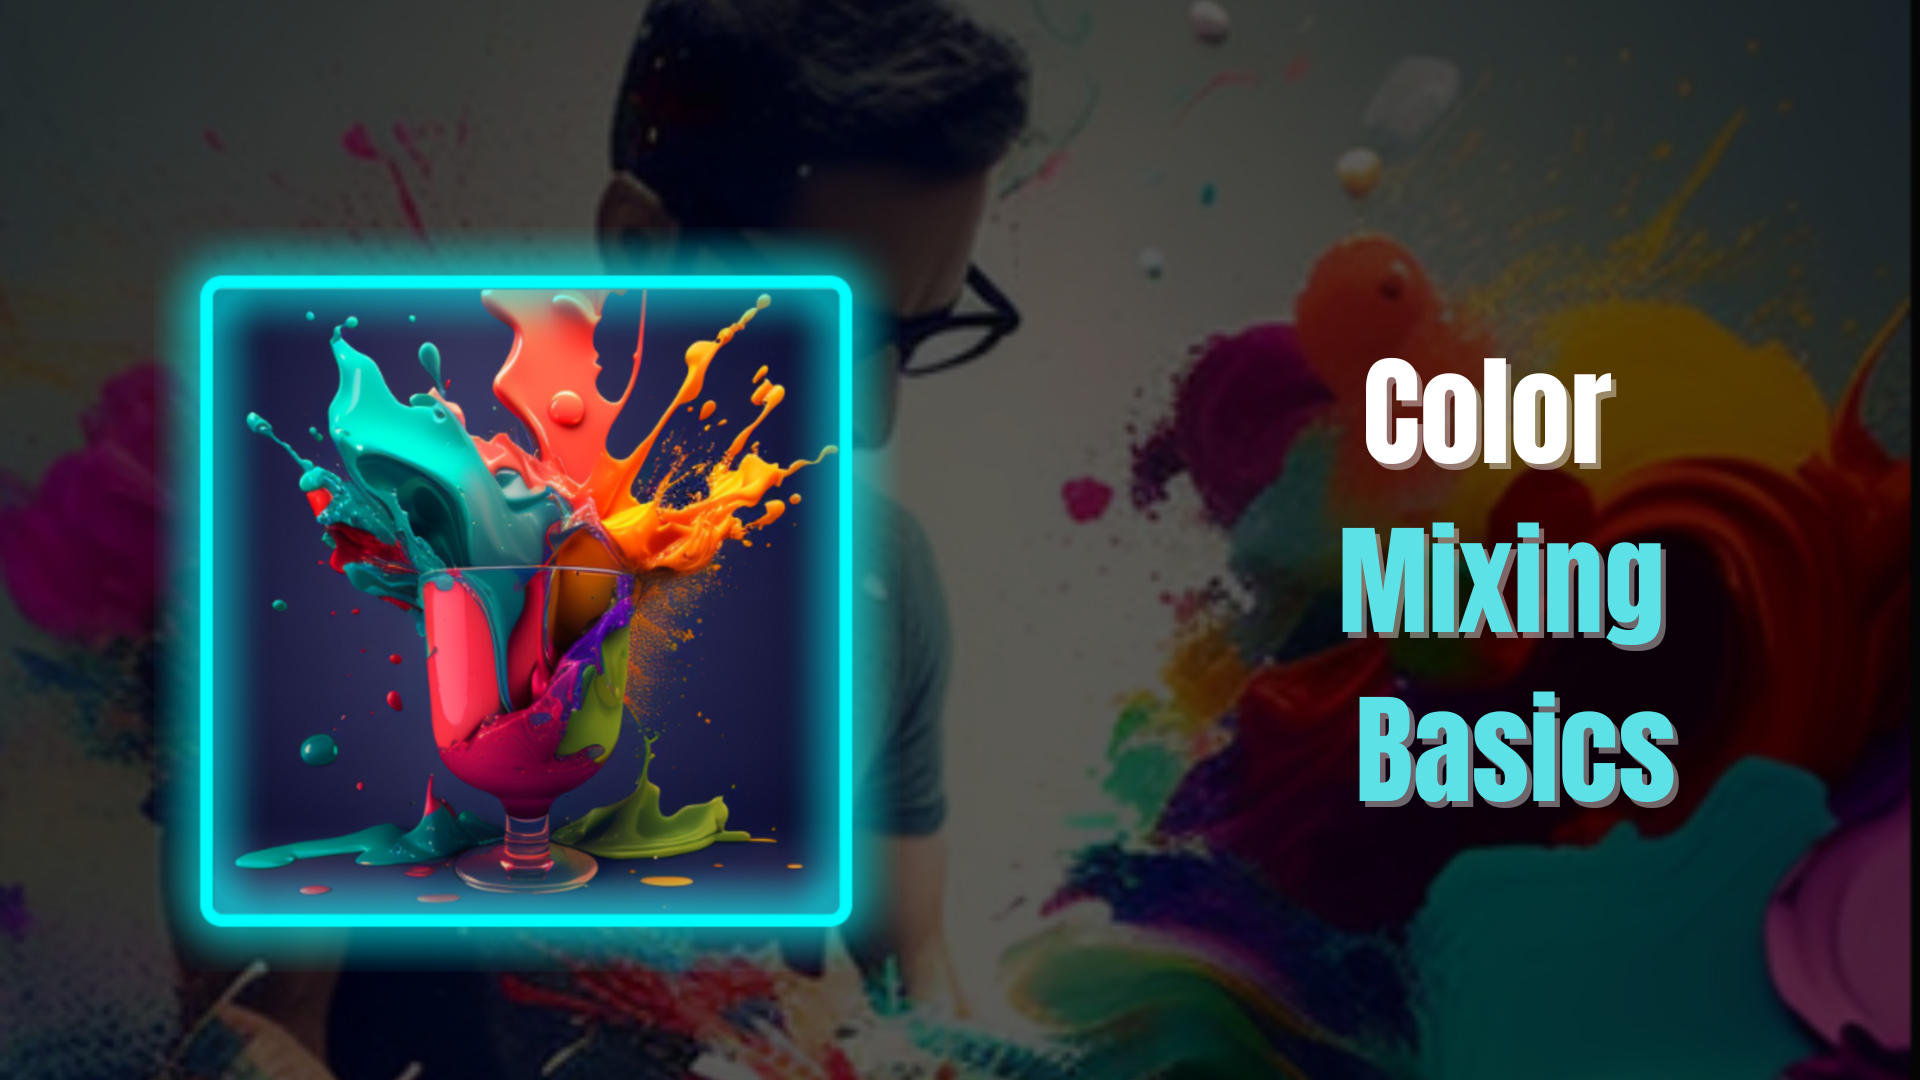
Learn how each color interacts with another when mixed together. This knowledge allows you to adjust the color proportionally, so it becomes more intense or lighter in hue. It also helps when using paint mixing techniques like glazing or scumbling - applying paint with a dry brush over an existing layer of paint.
Get familiar with the color wheel, and practice mixing and painting swatches with the colors you create. Start off by replicating the color wheel using just the primary colors. From there, you can try your hand in color matching, where you mix paints to match an object’s color. Experiment with different combinations of pigments, and you’ll start to get a feel for how colors interact.
Creating Textures with Oil Paint
Creating textures with oil paints is an exciting process and can often be the most rewarding aspect of a painting. With the right technique, it’s possible to create realistic, tactile works of art that come alive before your eyes. It all starts with building layers and mastering brush strokes.
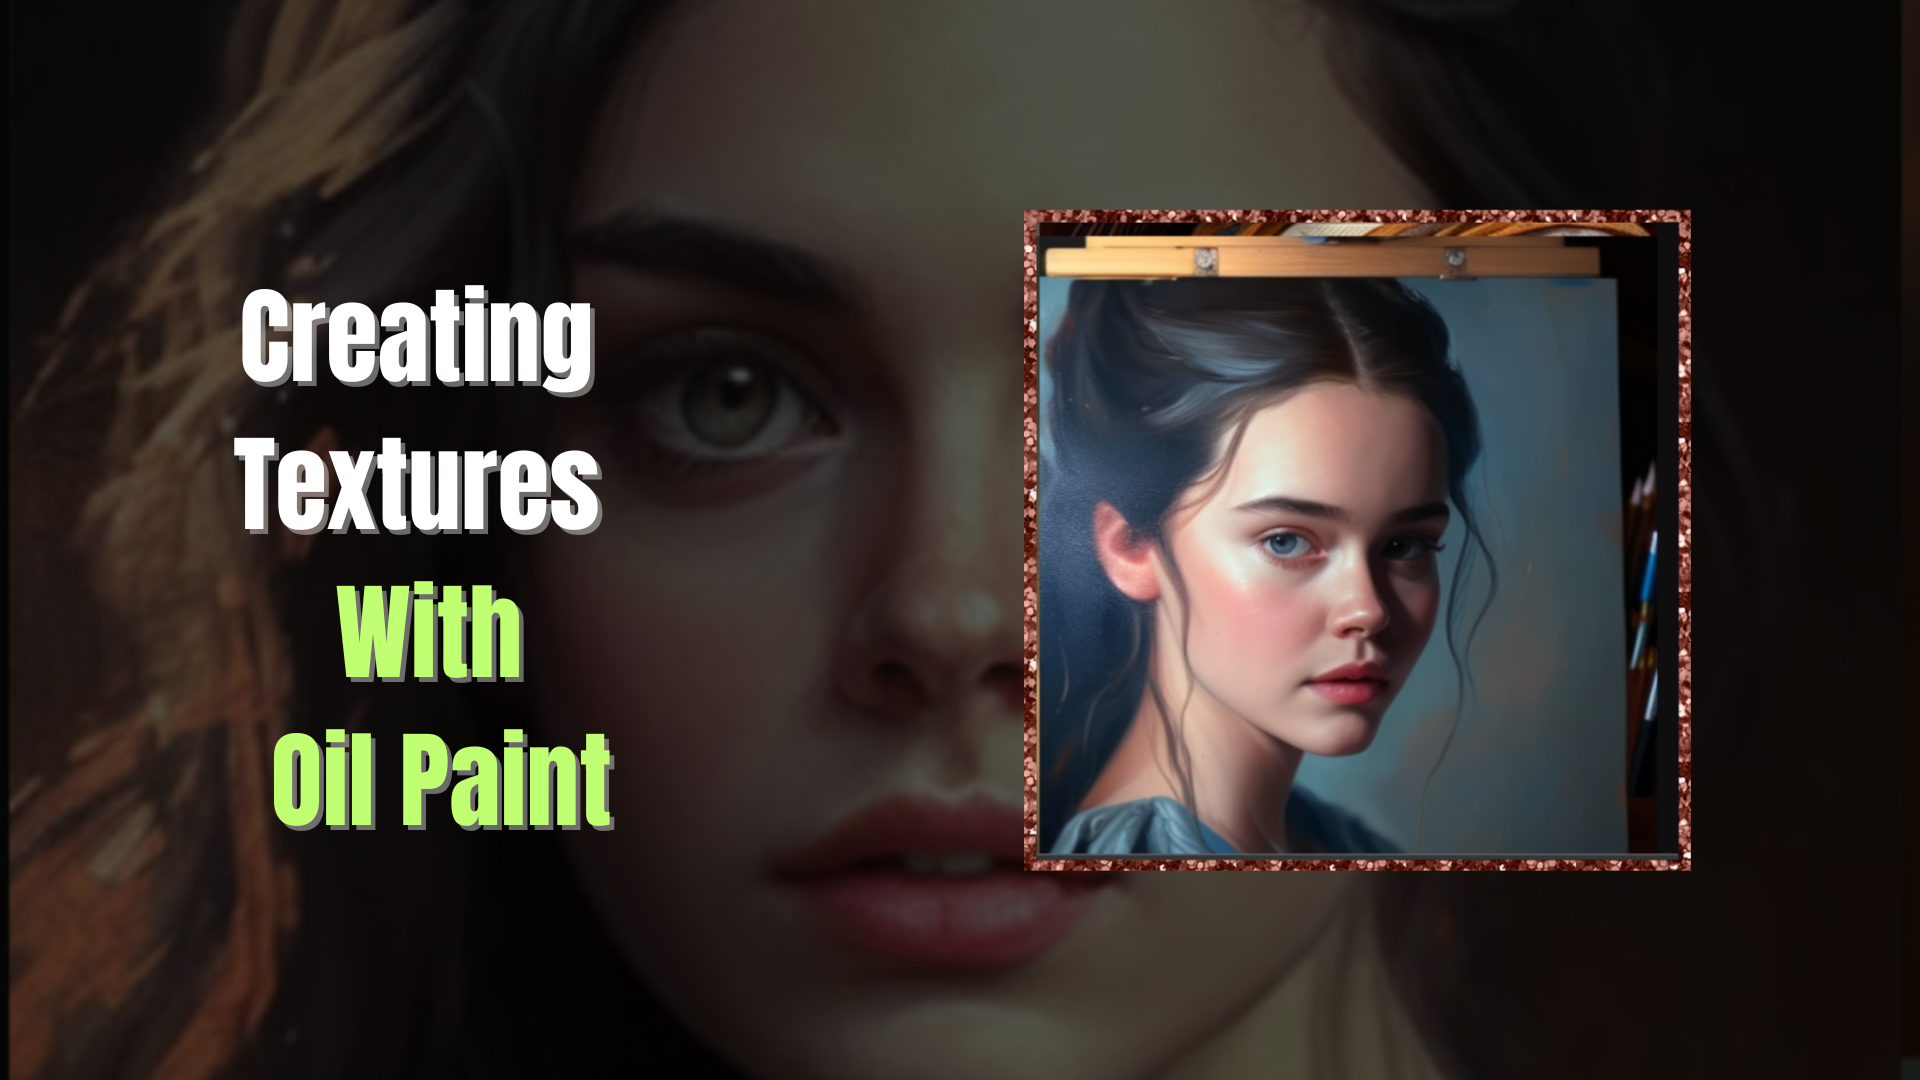
Using a range of tools such as brushes and palette knives, you can begin to build up layers of paint on your canvas. It’s important to use different sizes, shapes, and lengths of brushstrokes in order to create a varied texture that will help bring your painting to life. Try making marks with your brush in different directions - cross-hatching or even swirling motions. You can also experiment with adding texture by making marks through thick layers of paint or using palette knives to scrape back areas.
Oil painting is all about playing around with different techniques and seeing what results they produce. Don't be afraid to make mistakes and go back over areas if necessary; there isn't one right way to use oils! With patience, practice, and a bit of imagination, you'll be able to create stunning pieces that truly capture the beauty of texture in oil painting form.
By combining brush strokes and building up layers, it's possible to create truly captivating works which incorporate a multitude of subtle textures. This opens up endless possibilities for creating artwork with unparalleled depth and detail - so get creative!
Techniques for Blending Colors
Blending colors is an essential part of oil painting that can make or break a piece of artwork. It's important to understand color theory in order to successfully blend and mix oil paint. Here are some easy techniques for blending colors:
- Use a soft brush to blend two areas together
- A palette knife can create interesting textures and patterns
- Gradually layer multiple shades of the same color on top of one another
- Experiment with complementary and analogous colors in order to create vibrant, dynamic compositions
- Combine different hues to create a range of new tints, tones, and shades
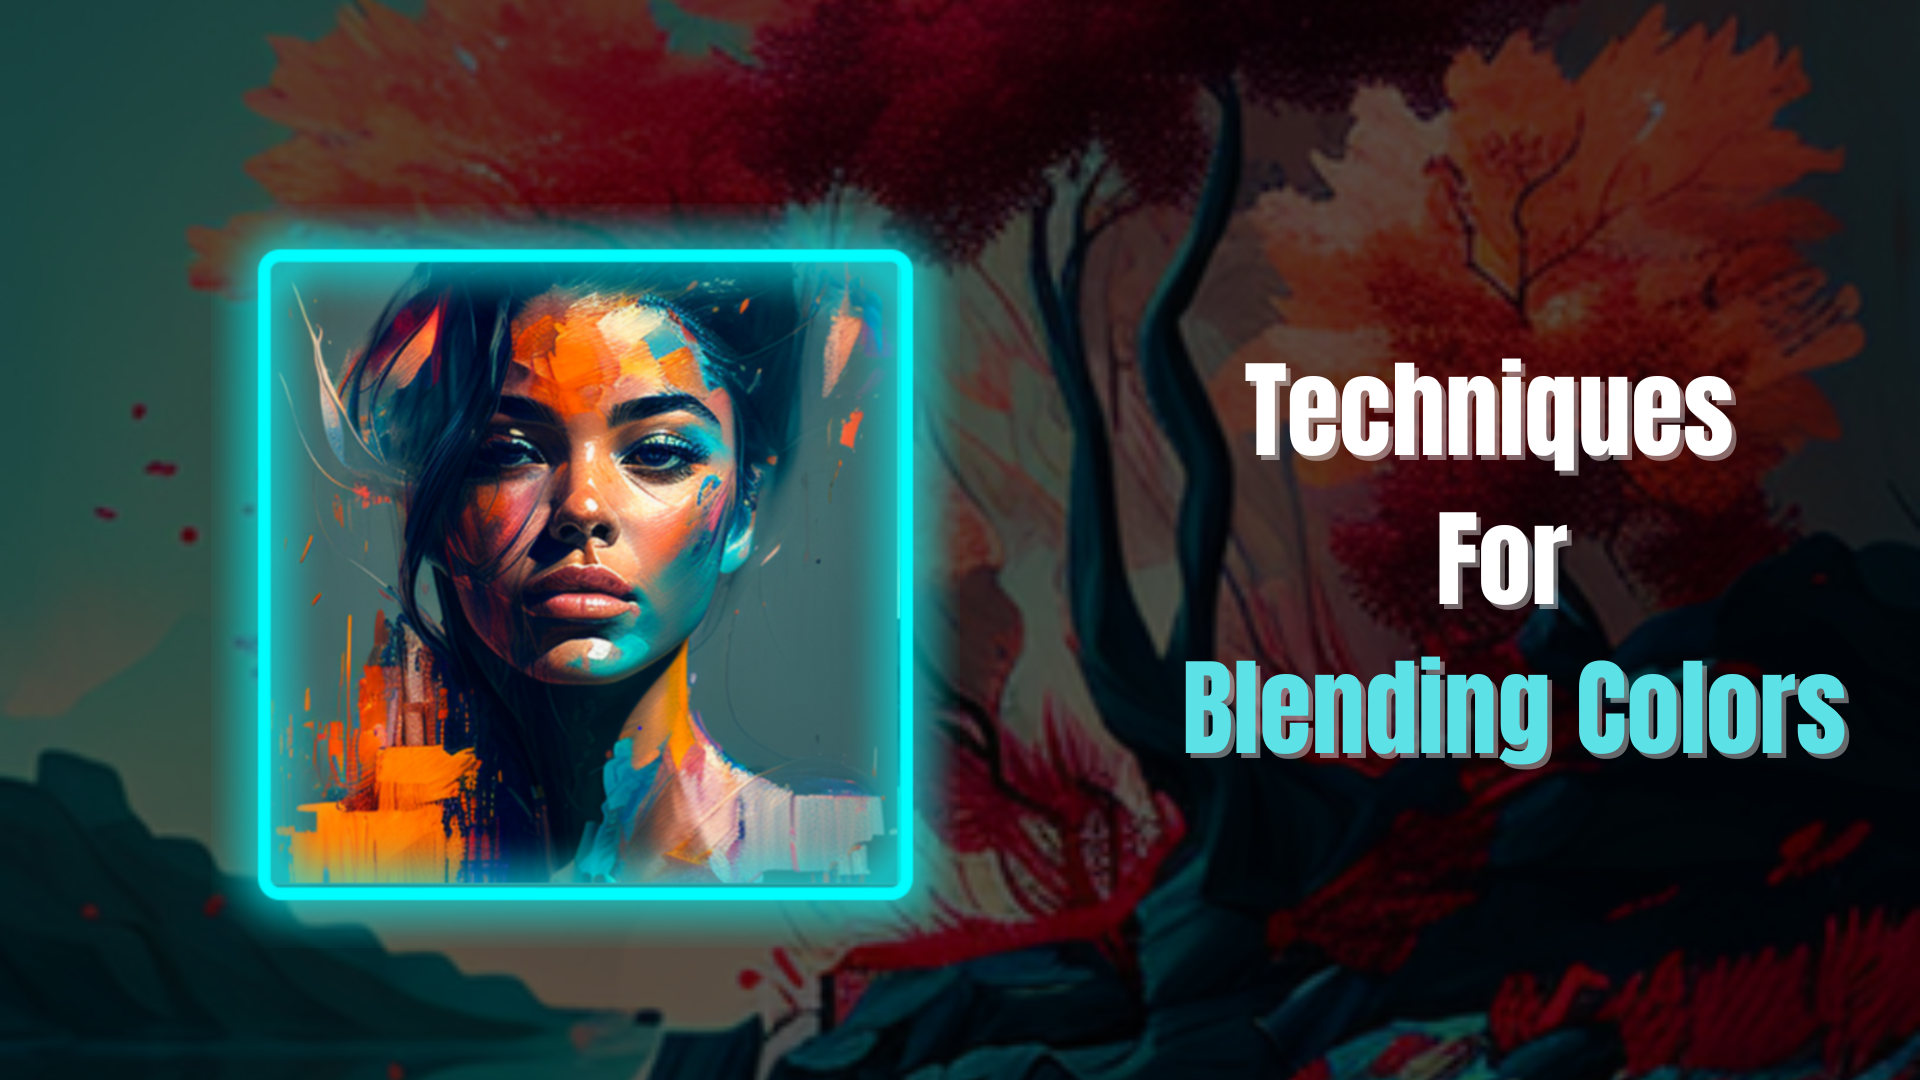
With time and dedication, you will be able to intuitively mix colors together. As you become more comfortable with blending oil paint, try experimenting with more complex color mixes like complementary triads or tertiary hues. With the right combinations, you can achieve stunning effects! Now let's move on from color mixing and talk about applying layers to a painting.
Applying Layers to a Painting
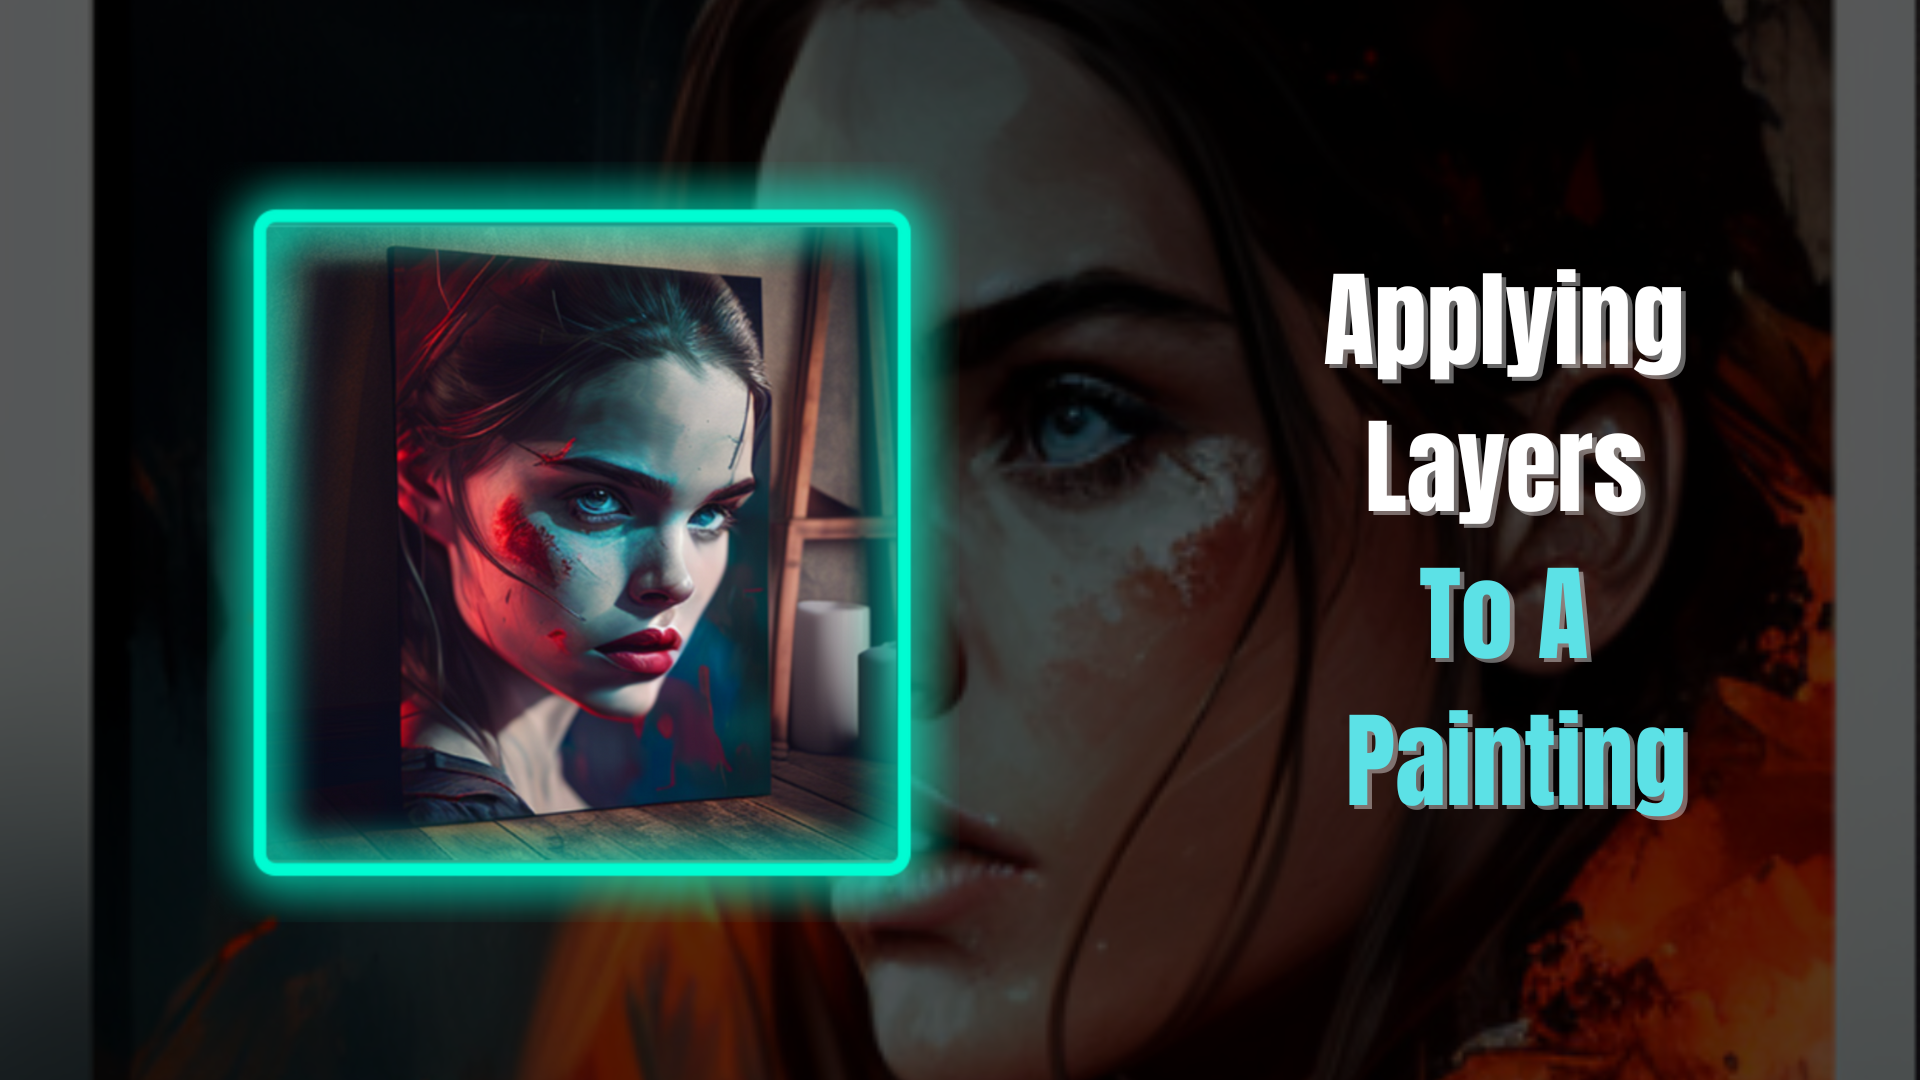
Now that you've mastered the technique of blending colors, it's time to tackle applying layers to your painting. Layering oil paint is a powerful way to increase the depth and complexity of your art.
The process of layering begins with a thin layer of paint applied over the entire canvas. Depending on the desired effect, this could be a light or dark color, with more or less saturation. As each layer dries, another layer can be applied until the desired look is achieved. This painting layer process should be repeated until you have created five or six layers, depending on how much detail you want in your painting.
When layering oil paint, it's important to keep in mind that each new layer should not completely cover up what was done before. Instead, let some of each underlying layer show through in order to create interesting textures and details as well as build up intensity in certain areas. Doing so will help add depth and dimension while also giving your painting a unique finish.
Finishing Your Painting with Varnish
Finishing your painting with a varnish is the final step of any oil painting project. This protective coat will serve to protect your artwork from dust, dirt, and UV rays while also providing a uniform finish. Here are the key steps for varnish application:
- Make sure that your painting is completely dry before applying the varnish.
- Choose a varnish specific to the surface you’re working on - whether it’s canvas, board or panel.
- Use a brush to apply the varnish in thin layers until you achieve an even finish.
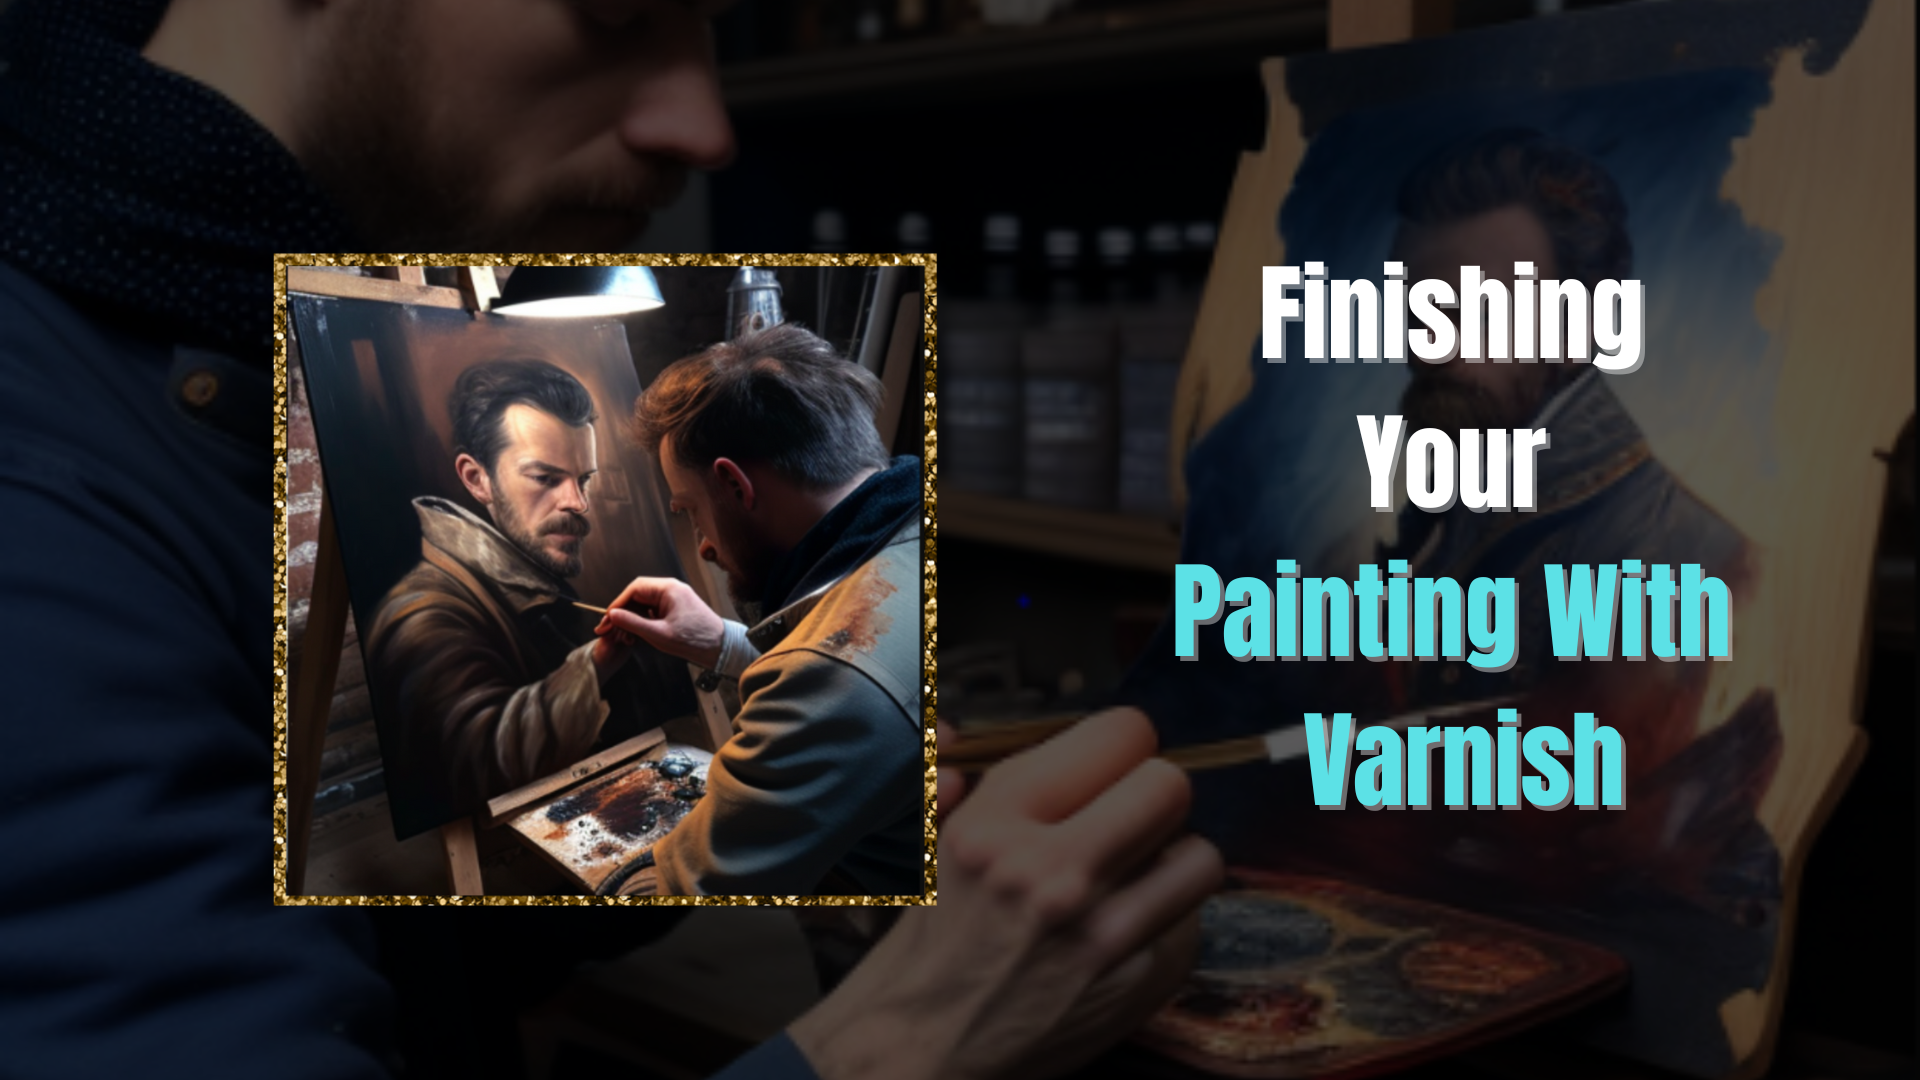
Allow each layer to dry before applying subsequent coats as needed until you have achieved the desired look and level of protection for your artwork. It’s important to note that some art galleries may request their own particular type of varnish or finishing technique - so be sure to check with them before completing this step if necessary.
Working on Different Surfaces
The most common surface for oil paintings is canvas, which is stretched over a wooden frame. However, other materials such as wood boards, paper, stone slabs, or masonite can be used to create unique pieces of art.
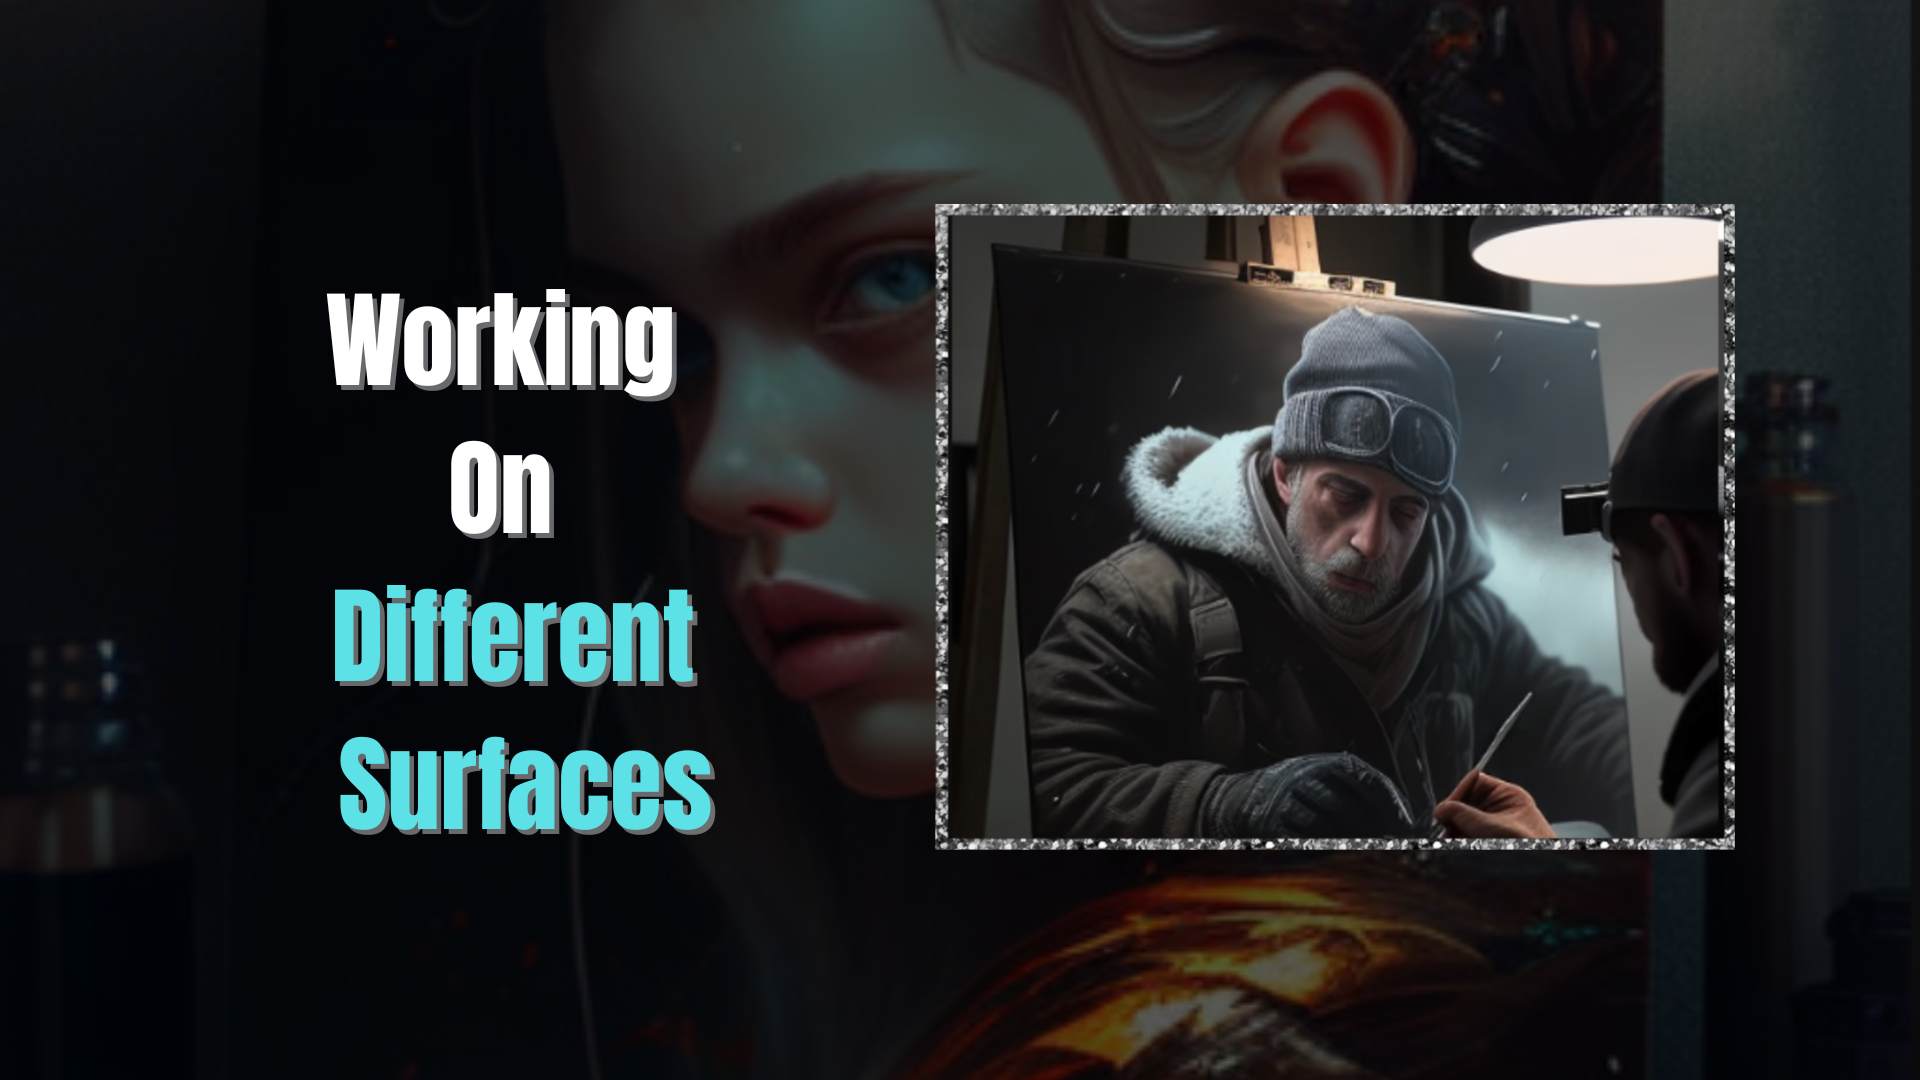
To begin painting on a board or stone slab, use a gesso primer to seal the surface before applying oil paint. This will ensure the colors don’t bleed onto one another and create an even layer of paint. To ensure the paint adheres properly to the board or stone slab, lightly sand the surface after applying the gesso primer. When working on paper, use a medium-grain sandpaper to rough up the surface before applying oil paints. This will help prevent wrinkling and warping of the paper due to moisture in the oil paints.
When working with masonite, it is important to prime both sides of the board before beginning your painting. Applying gesso primer helps protect against warping caused by moisture from oil paints. Once primed and dried completely, you can begin creating your artwork on masonite!
With all surfaces there are potential mistakes that could arise when using oil paints - from uneven layers to unwanted crackles in the paint - but troubleshooting these common issues is easily accomplished with practice and patience!
Troubleshooting Common Mistakes
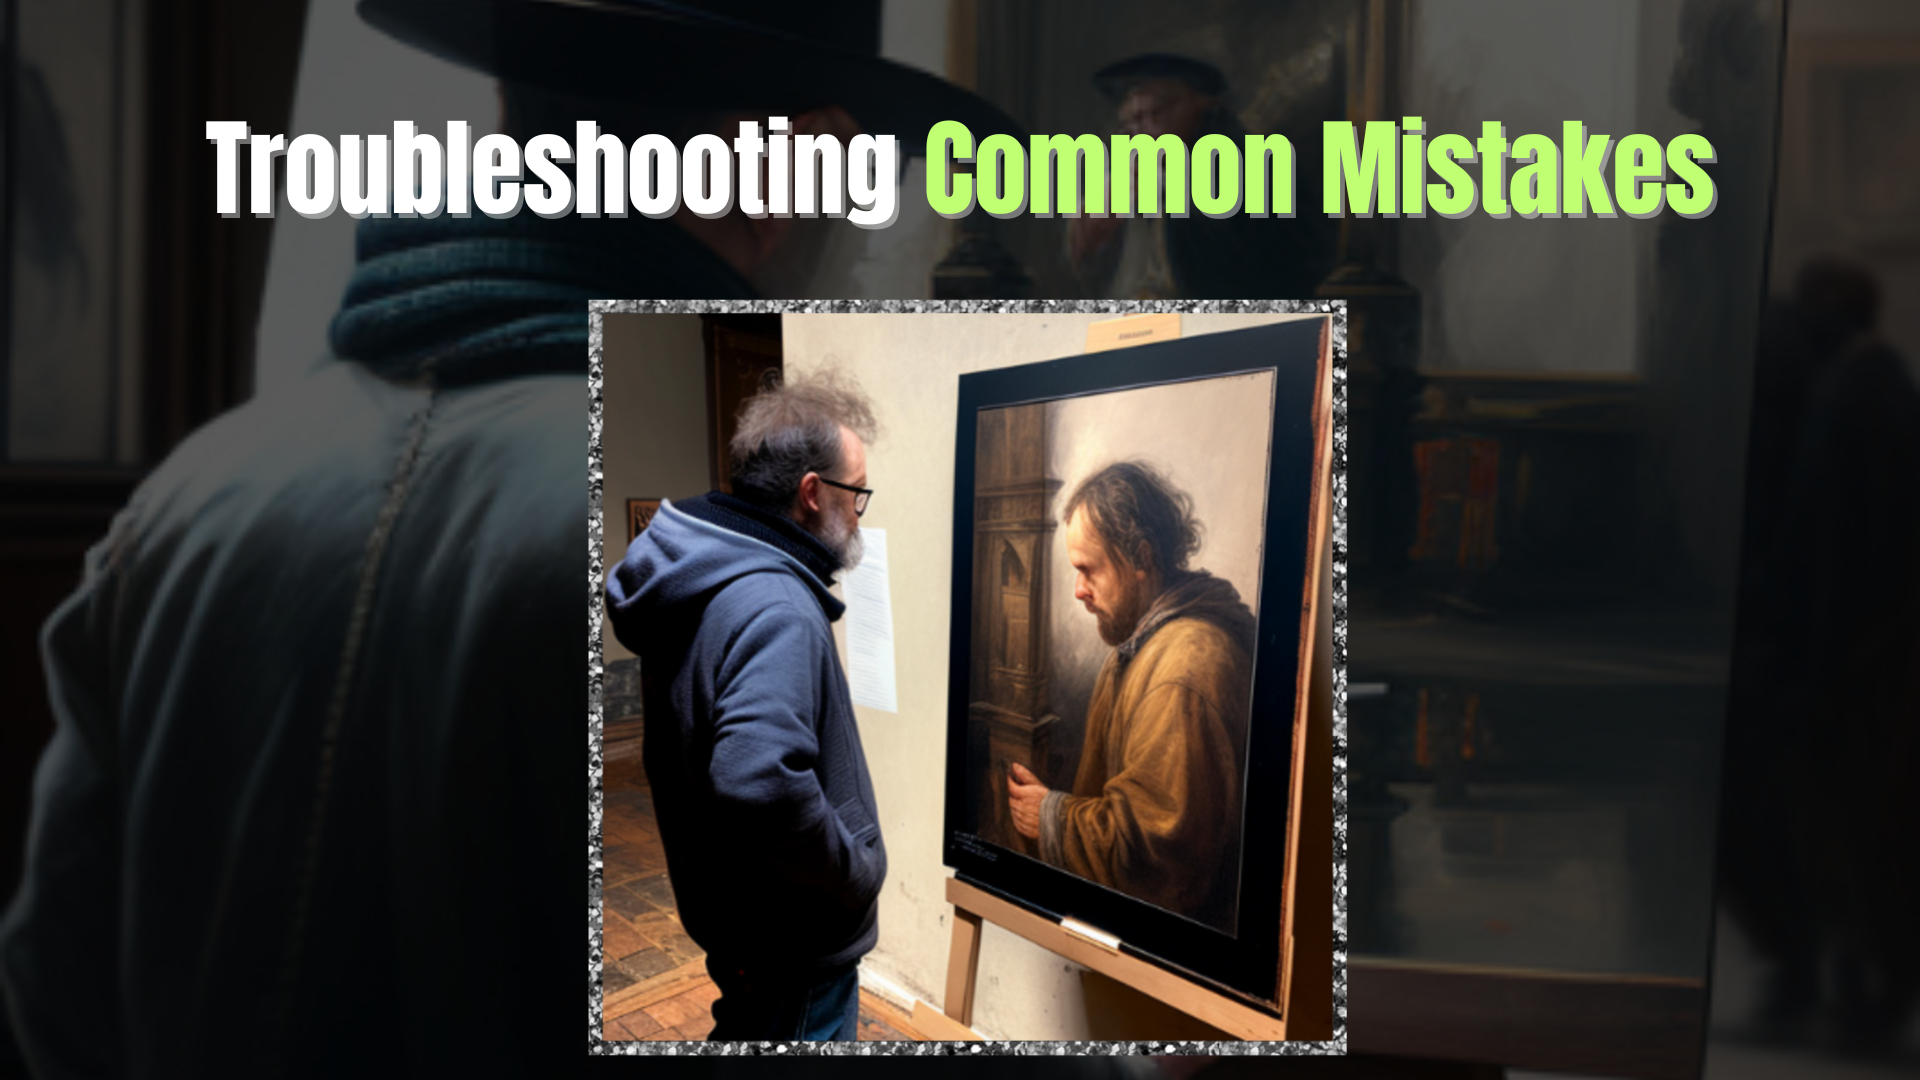
When it comes to oil painting, mistakes can be costly. Research suggests that an average of 20% of all paint used in oil painting is wasted due to common mistakes. This can add up quickly and become an unnecessary strain. To help you save money and time when working with oil paint, here are some tips for avoiding common mistakes.
The first mistake we'll discuss is overworking the paint. Oil paints take a long time to dry, so it's easy to get carried away and keep adding layers or blending colors too much. To avoid this mistake, use a fast-drying medium in your paints which will speed up the drying process and make them easier to work with.
Don’t use too much paint when mixing. Always start with a small amount of paint from each tube, especially with smaller paintings. A good way to mix paint without wasting any is to squeeze out a row of all the paint that you’re planning to use in that painting session, then taking a palette knife and mixing small amounts of paints together to get the color you desire.
Another common mistake is using too much solvent when thinning out your paints. As tempting as it may be, resist the urge to pour more solvent into your palette as this will not only dilute the color but also weaken the strength of the paint. Instead, use brush strokes and proper technique when blending colors together on your canvas or board.
These are just a few mistakes that beginner oil painters often make. It takes practice and patience to master a craft like painting with oils so don't be discouraged if things don't go perfectly right away! With these tips in mind, you should be well on your way towards becoming a skilled oil painter! Now that we've discussed how to avoid common mistakes in oil painting, let's take a look at safety tips for handling oil paint materials properly.
Safety Tips for Handling Oil Paint
Painting with oils can be a great deal of fun but can also be dangerous if not done correctly. It is essential to take certain precautions to ensure your safety when handling oil paints. Here are three ways to stay safe while working with oil paints:
- Wear Protective Gear: When working with oil paint, wear protective gear such as gloves and a face mask. This will help protect your skin from coming into contact with the toxic chemicals in the paint and prevent inhalation of any fumes which could cause health issues. Work only in well ventilated areas and take frequent breaks.
- Store Properly: After use, make sure that all of your supplies are stored properly in order to avoid any accidents or spills. Make sure that there is adequate ventilation in the area where you store your supplies as this will help reduce any fumes from building up and becoming hazardous.
- Understand Health Risks: It is important to understand any health risks associated with using oil paints before beginning a project so that you can take the appropriate precautions necessary for safety during painting sessions. Make sure you know what materials need special care and how best to handle them in order to minimize any potential health risks related to using oil paints.
By following these simple tips, you can ensure a safe painting experience while mastering the art of oil painting!
Frequently Asked Questions

What is the Best Oil Paint Brand to Use?
When it comes to oil painting, the quality of the materials you use can make a huge difference in your artwork. There are a number of different brands and types of oil paints available on the market, so it can be tricky to decide which to go with. Fortunately, there are some tips that can help you select the best oil painting brand for your needs.
First and foremost, consider your budget when selecting an oil paint brand. Different manufacturers offer different prices, so you should look at all of your options before making a purchase. Oil painting supplies can be expensive, but investing in higher quality materials will result in better results in the long run. You may also want to research customer reviews and ratings to see which brands have been recommended by other painters and artists.
In addition to price and customer feedback, consider the type of oil paint that you need for your project. Different brands specialize in different types of oil painting materials such as acrylics or watercolors, so it’s important to select a brand that offers what you need for your project. Note that each brand of paint has different tiers of quality. Some are appropriate for students, as they are inexpensive but don’t compromise too much on quality. Then there are the higher tiers, for professional painters. If you’re just starting out painting, use the first tier, as they will give you decent quality paints for an affordable price. Once you feel you’re ready to really invest in oil painting, the higher tiers of paints may rightly entice you, if they fit your budget.
Compare different brands side-by-side before making a decision about which one is best for you. Look at factors such as price, customer feedback and reviews, type of paint offered, and color selection to determine what will work best for your needs as an artist. With some research and comparison shopping you'll be able to find the perfect oil paint brand for any project!
How Long Should I Wait Between Coats When Painting With Oil?
When oil painting, it is essential to wait between coats in order to allow the paint to properly dry and adhere. The time required for the coats of oil paint to dry will vary depending on the type of oil paint used as well as environmental factors such as humidity and temperature.
The length of time that should be allowed between coats depends on the type of oil paints being used. Some brands of oil paints require more time than others, so be sure to read the manufacturer's instructions before starting your project. Generally speaking, it is advised that you wait at least 24 hours in between each coat; however, this could be longer if your environment is particularly humid or cold. It is also important to remember that layers beneath may not have fully dried yet, so you should make sure all prior layers are adequately dried before beginning a new layer.
In addition to allowing adequate drying time between coats, it is also important to keep a consistent pace when painting with oils. For example, if you apply thin layers quickly one after another without waiting for them to dry in-between, they may end up merging due to their slow drying nature. This can lead to an undesirable effect known as lacquer-like sheen which will diminish the vibrancy of your artwork. Therefore, it is recommended that you take regular breaks throughout your painting process and stick with a consistent pace when applying each layer of paint.
What is the Best Way to Store Oil Paints?
Storing your oil paints properly is essential for preserving and maintaining their quality. There are certain steps to take when storing oil paints that will ensure they last as long as possible. Knowing how to store oil paints correctly can also help you avoid potential safety hazards like mold, dust, and hazardous fumes.
When storing your oil paints, it is important to keep them out of direct sunlight and away from any sources of heat or humidity. You should also have a designated shelf or space specifically for the storage of your oil paints. The shelf should be clean, dry, and well-ventilated. Additionally, make sure to keep the lids on your paint tubes tightly closed when not in use. This will help preserve the colors and prevent them from drying out quickly. Invest in cleaning supplies for your brushes. There are special jars and soaps that are useful for washing your brushes during and after a painting session.
Regularly check the condition of your stored oil paints. Look for signs of cracking, discoloration, or other damage that could be caused by poor storage conditions. If you notice any changes in color or texture that could indicate spoilage or contamination, discard the paint and replace it with a new tube. With oil paints, you’ll want to dispose of them properly, otherwise they will contaminate the environment with hazardous chemicals. Look up a service in your area that deals with disposing of hazardous waste.
Keeping up with regular maintenance on your oil paint shelf can greatly extend the life of your supplies while reducing any potential health risks associated with storing oil paints improperly.
What is the Best Way to Clean My Brushes After Using Oil Paint?
Oil painting is a beautiful, timeless art form that has been around for centuries. From time to time, however, the beauty of oil paints can be compromised if the tools used are not properly cared for. Cleaning brushes after each use is an essential part of maintaining them in good condition and ensuring that your artwork stands out from the rest. So what is the best way to clean your brushes after using oil paint?
The first step in cleaning oil paint brushes is to use a solvent such as turpentine or mineral spirits. These solvents will help remove any excess paint and ensure that your brush is thoroughly cleaned before you begin a new painting. You should also consider investing in a quality oil paint brush cleaner or oil painting brush cleaner specifically designed for this purpose. These cleaners are formulated to help break down and remove the oils and dirt from your brushes, leaving them looking like new.
Once you have thoroughly cleaned your brush with a solvent or cleaner, be sure to rinse it off with warm water and shake it dry. This will help prevent any remaining pigment from staining the bristles of your brush or potentially damaging its shape. Additionally, you may want to use a small amount of brush cleaning soap on stubborn areas where the pigment has built up over time. After rinsing off the soap, you can store your brushes upright so they maintain their original shape until they are ready for their next use. Be careful to store the brushes so that their bristles are kept in the right shape.
With these simple steps in mind, you can keep your brushes looking great and create beautiful works of art with ease! Taking proper care of your brushes is an important key to mastering oil painting so make sure to give them some TLC every once in a while!
Are There Any Special Techniques for Creating Shadows With Oil Paint?
Creating shadows with oil paint is a craft that requires special techniques and tools. Oil painting shadows can be used to create depth and detail in your artwork, adding a level of realism to your pieces. Here are some of the best oil painting techniques for creating shadows:
- Layer paints to create subtle shifts in tone and color. Layering different hues of the same color can help you achieve the desired shadow effect without having to use a darker shade of paint.
- Blending is an important technique when it comes to creating shadows with oil paint. You can blend two colors together by using a brush or a palette knife, which helps to create smooth transitions between different shades and tones.
- Texture work is another way to add depth and dimension to your paintings. Using texture mediums such as gels and pastes will help you create more realistic shadows on your canvas or paper surfaces.
Creating shadows with oil paint can be daunting, but with the right techniques and tools, you can easily create stunning pieces of art! It's important to experiment with different techniques so that you get comfortable working with this medium before tackling more complex projects. With practice, patience, and dedication, you'll soon master the art of creating beautiful shadows with oil paint!
Conclusion
When getting started with oil painting, it’s important to find the right oil paint brand for your needs. When applying coats of paint, make sure to give each layer enough time to dry before adding another one. This will ensure that your artwork won't become a gooey mess! It's also important to store your paints properly and clean your brushes after each use.
Finally, once you've got the basics down, it's time to practice special techniques such as creating shadows with oil paint. With a few simple tricks and a lot of practice, you'll be able to create paintings that are nothing short of masterpieces - so vivid and lifelike they could practically jump off the canvas!
Most importantly, enjoy the process! Oil painting is hard work, but there is nothing more satisfying than creating something with your own hands, purely from your own mind. The possibilities are truly endless when it comes to oil painting - so don't hesitate any longer; get started today and let your creativity run wild! Who knows - you might just be the next Monet or van Gogh!