

Introduction: The Importance of Portrait Backgrounds
In portrait painting, the background holds immense importance for establishing atmosphere and drawing focus to the subject. More than just decorative settings, backgrounds influence the entire tone and message of a portrait. They provide context, reflect something of the sitter's essence, and visually integrate with the subject to create a unified composition.
Thoughtfully chosen backgrounds can direct the viewer's eye to the portrait subject, while poorly matched or overly busy backdrops risk distracting focus. The colors, textures, lighting, and shapes of the background should both complement and accentuate the portrait's focal point. For example, a softly blurred nature scene can accentuate a subject's sharp features and direct attention inwards.
Painting compelling backgrounds requires considering many compositional factors like color harmony, values, textures, and shapes. With practice, portrait artists gain intuition for selecting and rendering backgrounds that infuse their paintings with mood and personality. From vivid landscapes to muted graphic designs, backgrounds offer infinite possibilities for creative expression.
This guide will explore essential techniques for crafting portrait backgrounds that enhance subjects' presence. You'll learn approaches for establishing lighting and depth, principles for combining colors, and methods for injecting painterly textures. With dedication, you can master backgrounds that lift portraits off the canvas with life and vibrancy. So let's get started and breathe atmosphere into your portraits!
Definition of a Portrait Background

A portrait background is an integral part of any portrait. It provides the context and atmosphere for the subject, and helps to define the portrait.
In order for a background to truly define a portrait, it must contain elements that reflect the individual’s personality or mood. It should also work together with the subject’s clothing and facial expressions to enhance the atmosphere of the piece. Backgrounds also add depth and character to a picture by creating visual interest and perspective.
The type of background used in a portrait will depend on several factors such as the style of portraiture desired, where the portrait will be displayed, and what impact the artist intends to have with the painting. By carefully considering these aspects when choosing a background for a portrait, one can create an image that conveys its own unique message.
Types of Backgrounds for Portraits
When planning a portrait painting, one of the most impactful decisions is selecting an appropriate background type. Different backdrops set entirely different tones and require tailoring compositional elements accordingly. Some common portrait background options include:
- Painted Landscapes - Transportive landscapes allow setting your subject against majestic natural vistas. Painted backgrounds depicting locations like mountains, forests, beaches or gardens can create a timeless, romantic feel. Carefully match lighting on the subject to the scene. Go for more impressionistic, blurred backgrounds to keep focus on the subject.
- Abstract Designs - For contemporary, edgy portraits, abstract backgrounds provide endless possibilities. Experiment with geometric shapes, lines, splatter textures, gradients and patterns as backdrops. Vivid, clashing colors and bold shapes help the subject pop. Avoid overly busy patterns that distract from the main focus.
- Monochromatic Tones - Subtle, muted backgrounds in shades of one color exude refined elegance. Stick to soft neutral tones like greys, taupes and creams that gently frame your subject without overwhelming. Let the subject be the main color pop against an understated backdrop.
- Urban Landscapes - Incorporate cityscapes or graffiti art for urban, street-style portraits with an edge. Nighttime city scenes, grungy alleyways, or neon signs contrast with portrait subjects. Pay attention to complimentary or clashing color schemes.
There are endless options for portrait backgrounds beyond these categories too. Consider what tones you want to convey, and select backdrops that visually harmonize with subjects' coloring and personalities. With judicious background choices, you can create portraits with immense style, depth and visual intrigue for any setting.
Selecting an Appropriate Background

Choosing a background that complements the portrait subject requires considering a few key factors:
- Style and Purpose - What style of portrait is desired, and where will it be displayed? A traditional backdrop for a family heirloom portrait may differ greatly from an edgy, urban background for a magazine editorial piece. Select backgrounds that align with the overall style and intended purpose.
- Subject's Personality - Reflect something of the sitter's essence through the background. For example, an outdoorsy subject may suit a nature landscape, while a historian may complement an antique library backdrop. Incorporate subjects' interests into the setting.
- Physical Environment - When possible, use backdrops inspired by the subject's actual environment, like their home, office or favorite local haunts. This adds authenticity and personalization. Recreate architectural or natural elements from their surroundings.
- Color Harmony - Analyze the subject's coloring, clothing and props. Choose background colors that complement without clashing. Monochromatic or analogous schemes often work well to unify portrait elements.
- Framing the Subject - Compose backgrounds to properly frame subjects within the space. Ensure backdrops heighten focus on the sitter without overwhelming. Leave more detail and brighter colors around the subject for emphasis.
By keeping these factors in mind when conceptualizing portrait backgrounds, you can select options that enhance subjects' essence and draw viewers into the painting. Make backgrounds purposeful through thoughtful observation and design.
Preparing the Canvas and Materials
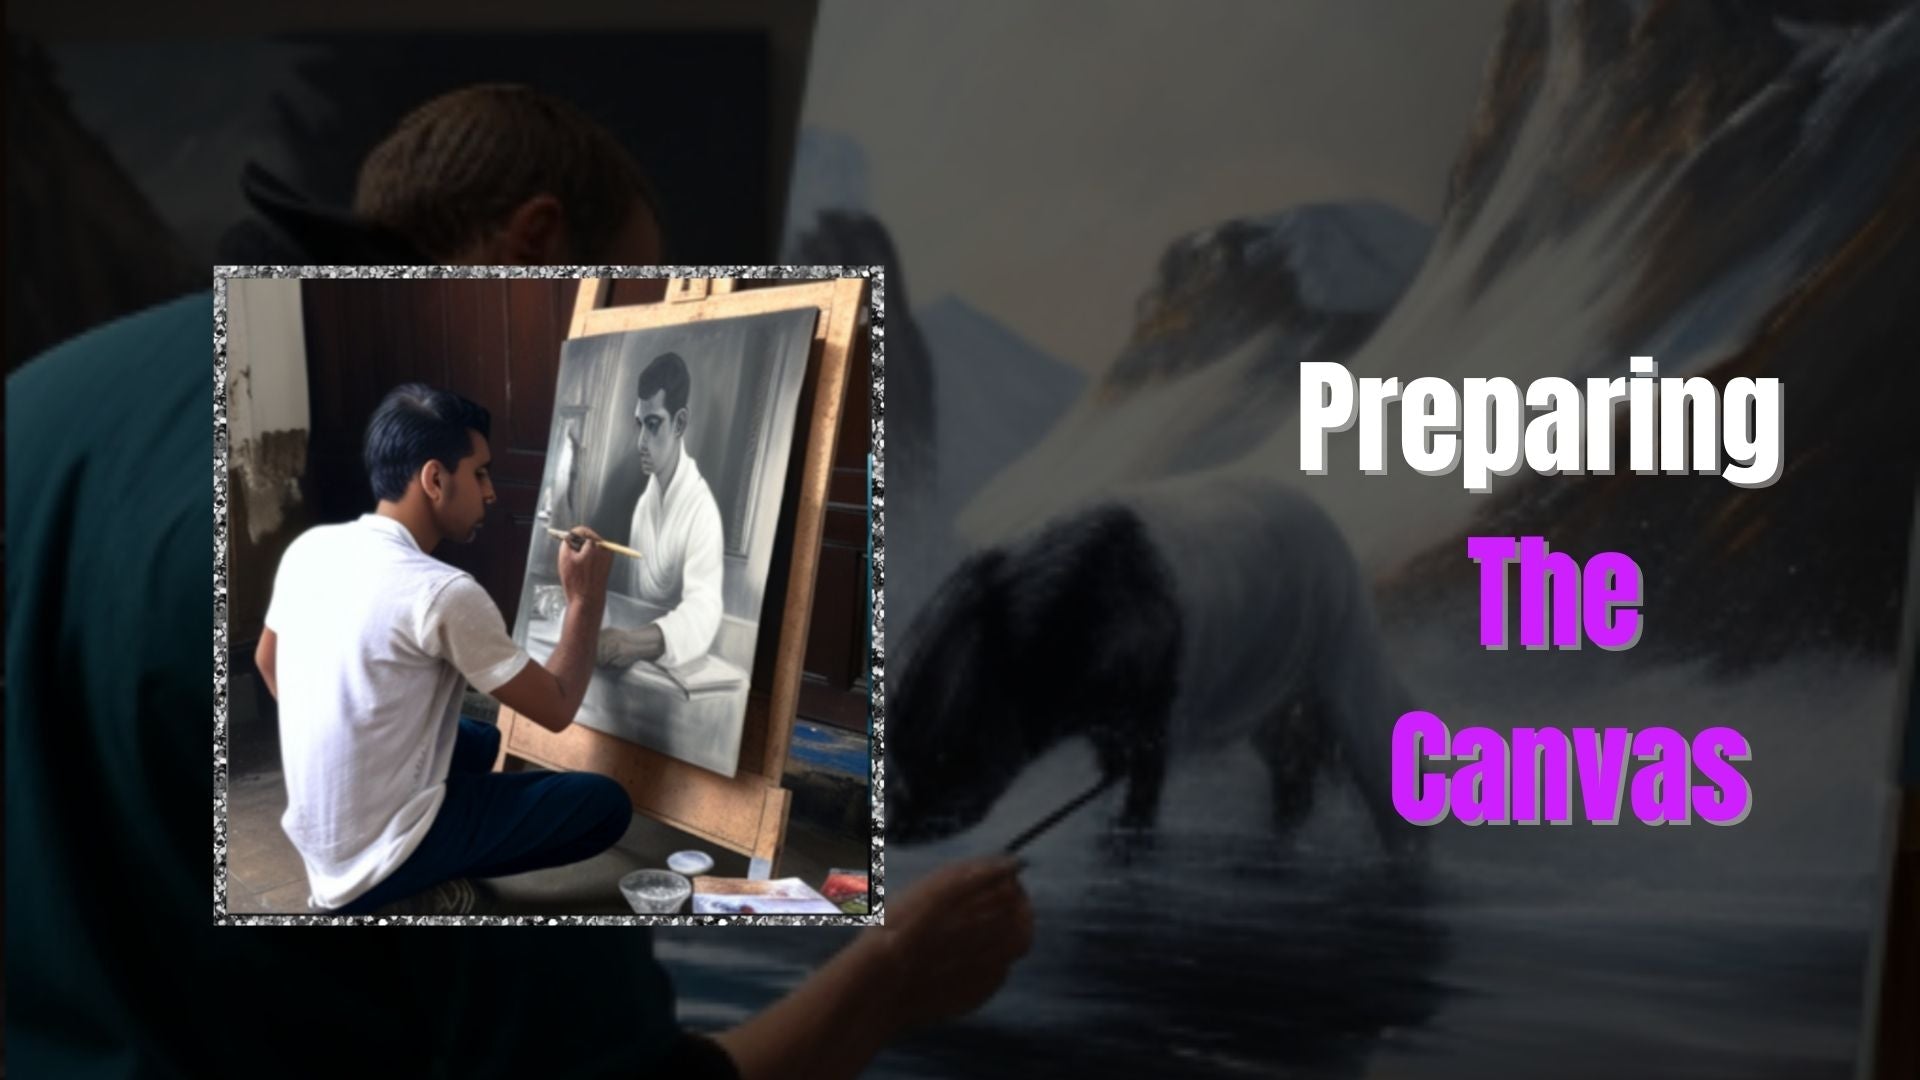
Before bringing a portrait backdrop to life, it's important to properly prepare your canvas and materials:
- Priming the Canvas - For oil painting, prime canvas with 3-5 thin layers of gesso to create a smooth, sealed surface. Use a wide brush or painting knife to apply gesso evenly across the entire surface including edges. Lightly sand between coats when dry.
- Sketching the Composition - First compose a rough sketch mapping out the placement of background elements and the subject. Use gridding techniques to accurately transfer and scale compositional sketches onto canvas.
- Complementary Color Schemes - Plan color schemes for backgrounds that will complement the portrait subject. Analogous, triadic or split-complementary schemes often work well to harmonize and accentuate focal points.
- Choosing Brushes - Have a variety of brushes on hand including flats, filberts, fans and rounds in different sizes. Soft natural bristle brushes blend backgrounds smoothly.
- Pre-mixing Paints - Pre-mix sufficient quantities of blended paint colors you'll need for the background on your palette. This saves time and allows you to work quickly while layers are wet.
Taking time to properly stretch, prime, sketch out, and prepare your materials will give you the best chance of painting a successful portrait backdrop. Don't rush the planning stages before putting brush to canvas.
Key Techniques for Portrait Backgrounds
Mastering some essential techniques will help you paint backgrounds that make portraits pop:
- Create Textures - Use varied brushstrokes, layered mixed media, and impasto gel medium to build surface texture. Apply paint with palette knives, sponges, or stiff brushes for broken color effects.
- Add Depth - Employ linear perspective with converging lines or atmospheric perspective by softening background focus. Position a distinct light source to create shadows around the subject.
- Include Details - Add visual interest and realism with details like flowers, furniture, architectural elements etc appropriately scaled. Soften unimportant details so they don't distract.
- Blend Colors - Use soft bristle brushes and gentle, overlapping strokes to transition colors seamlessly. Apply glazes over underlayers for smooth gradients.
- Observe Lighting - Note how light illuminates the subject and cast side shadows. Replicate the shapes and angles of highlights and shadows in the background.
By incorporating textures, depth cues, naturalistic lighting, and seamless color blending, you can craft backgrounds that make portrait subjects look 3D and life-like. Don't overwork details so that the focus stays on the subject.
Working from Reference Photos
Photos provide great reference for capturing a subject's likeness in a portrait. Use these tips when painting from photo references:
- Grid Method - Lightly draw an even grid over your reference photo, then draw a proportional grid on your canvas. Copy each section of the photo into the corresponding canvas grid for accurate scaling.
- Enhance Backdrops - Use the photo background as inspiration, not an exact copy. Enhance colors and details as needed to create a more dramatic, complementary backdrop.
- Adjust Lighting - Note the direction of light and shadows in the photo. Re-imagine lighting to be more dramatic if needed by increasing contrast and deepening shadows.
- Observe Details - Pay attention to patterns, props and other context clues in the photo to recreate an authentic environment and story for the subject.
- Maintain Likeness - Use the photo as a guide for accurately capturing the subject's proportions, colors, expression and pose from the same perspective.
With careful observation and enhancement, a photo can provide the perfect starting point for your portrait painting.
Tips for Working with Live Models
Painting from life allows tailoring settings and poses to suit your vision. Follow these tips when working with live models:
- Direct Poses - Guide models into desired poses conducive to the composition, adjusting hand placement, gaze direction etc. Provide a stool or props if needed.
- Adjust Lighting - Use artificial or natural light to illuminate the model. Observe how light sculpts their features and cast shadows to depict in the portrait.
- Simple Backdrops - Construct simple, neutral-colored backdrops that complement the model without distracting. Let the subject be the focus.
- Capture Expression - Work quickly to capture subtle expressions and have models relax into natural poses for an authentic look.
- Clothing/Props - Suggest clothing, accessories or props that add context and say something about the model's essence or story.
Guiding live models in person allows actively creating the perfect pose and lighting for your portrait vision. Keep backgrounds simple to maintain emphasis on the subject.

Finishing Touches for a Professional Look

To really hit it out of the park when painting backgrounds for portraits, you need to add a few finishing touches. As the saying goes, the devil is in the details, and that couldn’t be truer when working on a professional portrait. Here are some things to consider:
- Portrait Framing - Make sure your portrait looks complete by choosing the right frame and matting material.
- Professional Touch - Finishing details like custom-made frames and mats can help give your work an extra professional touch.
Whether you decide to go with traditional or modern framing options, it’s important to take into account how each choice will affect the overall look of your portrait. With careful consideration of the finishing details, you can create a stunning piece that shows off your skills as an artist.
Conclusion
Painting compelling background not only requires understanding of techniques but also creativity and practice. When thoughtfully combined with portrait subjects, backgrounds have immense power to convey mood and meaning.
This guide covered key approaches like establishing depth through perspective, lighting and details. We explored blending colors smoothly, working from varied references, and incorporating textures. Always remember the principles of harmony and emphasis when composing background elements.
With dedication, you can gain intuition for selecting colors, lighting, shapes and details that create dimensional, lively settings for any portrait. Gradually develop your own creative style. Remain open to discovering new techniques.
Most importantly, stay actively observant of environments, light, and color in the world around you. Use these visual inspirations to invent novel backdrops suffused with imagination. Mastering portrait backgrounds allows your creativity to shine.