

Capturing a person’s particular features, especially their face, can be daunting. It is critical to capture that person’s likeness, especially in a family portrait. But with the right techniques, painting faces in your family portraits doesn't have to be intimidating. From choosing the right colors to achieving the perfect composition, this article will help you create beautiful portraits that capture your loved ones’ unique personalities.
Painting faces in family portraits is truly an art form. It requires attention to detail and a keen eye for color and composition. With so much at stake, it's important to have a few tricks up your sleeve when tackling this project. That's why we’ve compiled some of our favorite tips and techniques for creating stunning painted family portraits.
Whether you're just starting out or an experienced painter, this guide will give you all the information you need to paint beautiful faces in family portraits that are sure to wow your friends and relatives! Let's jump in and get started!
Definition of Family Portrait

A family portrait is a painting that captures the likeness of a group of people in one composition. It typically includes members of an immediate family, such as parents and their children. The definition of “family” can vary, however. It could include extended or immediate family, such as grandparents, cousins, and in-laws; or close friends who feel like kin. Portrait painting is an art form that requires skill and practice to master. When creating a family portrait, there are many elements that need to be considered, from composition to color palette to individual facial expressions.
At its heart, a successful family portrait should capture the essence of the subjects within it . They should look like they belong together and radiate joy or other positive emotions. To do this effectively as a painter, you’ll need to employ specific techniques for painting faces in your family portraits.
Tools and Materials Needed

Creating a family portrait requires the right tools and materials. As a portrait artist, you need to be sure that you have access to quality supplies that will help you create a masterpiece. Here are the basics to use when painting family portraits:
- Paint brushes: Quality paint brushes are essential for creating smooth brush strokes and capturing fine details in the subject's face. Look for paint brushes with soft bristles, so you can glide your brush across the canvas material without leaving any harsh streaks or lines.
- Canvas Material: The texture and color of your canvas material will affect the overall look of your painting. When choosing a canvas, look for one with a smooth finish that won't interfere with your painting techniques.
- Paints: You'll need to select paints that match the colors in your portrait painting. Acrylics are most popular as they dry quickly and can be blended easily. However, you may also want to try oil paints if you're looking to build up more depth and texture in your painting.
- Sketching Tools: Before applying paint onto the canvas, it's important to sketch out the basic features of your subjects' faces. Invest in sketching pencils of various thicknesses so you can accurately capture each detail before adding color.
Once you have all the necessary tools and materials on hand, you're ready to begin creating your family portrait!
Lighting Considerations
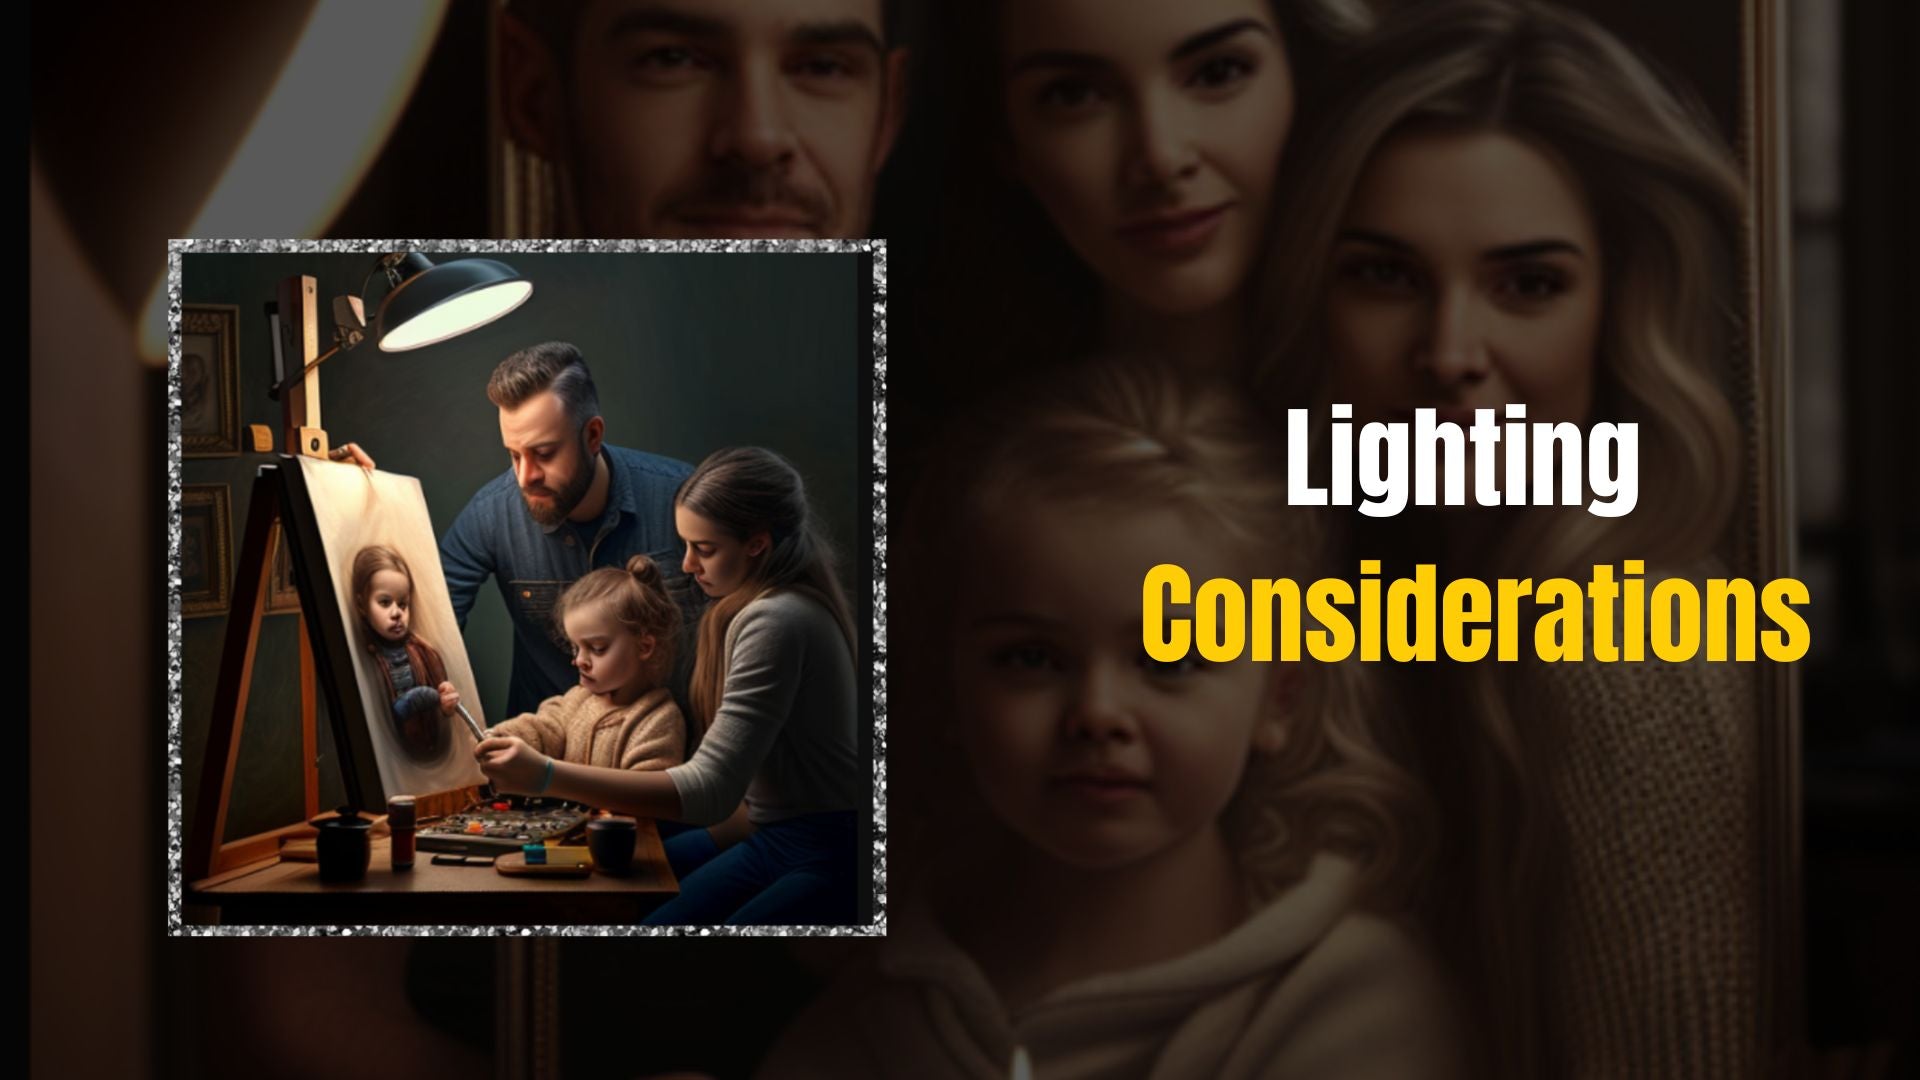
When painting a family portrait, you may start off by having your family sit for you while you sketch and paint them. That’s typically how portraits used to be painted. Nowadays, we can snap a few quick photos and spare our subjects the discomfort of sitting for hours and days on end. If you’re taking your own family photos, you need to set up your own lighting. Lighting plays a major role in creating beautiful compositions, so it is important to get it right. Here are some tips and tricks to help you master the art of lighting:
- Invest in quality lighting equipment. A good lighting setup will be one of your most valuable assets as a portrait photographer. Consider investing in studio lights such as softboxes, umbrellas, reflectors, and other accessories. You can also experiment with natural light sources like window light or outdoor shade.
- Pay attention to the direction of your lighting. It can make or break a portrait! For example, side-lighting creates drama and dimension while front-lighting illuminates faces evenly but flattens out features. Knowing how to use different angles of light will help you create stunning portraits with depth and interest.
- Utilize ambient light sources when possible. Natural ambient light can add atmosphere to your photographs if used correctly. Try experimenting with candles, lanterns, or fairy lights for an extra touch of magic in your portraits!
Lighting is an essential part of photography so take the time to practice and refine your techniques before shooting a family portrait session. With these tips and tricks you should feel more confident about creating beautiful images with perfect lighting! Now let's move onto composition and framing...
Composition and Framing
When creating a family portrait, the composition and framing of the image are just as important as the drawing itself. For portrait composition, it's helpful to think about what kind of story or moment you want to capture with your painting. What is the focus of the painting? Are there any elements that should take precedence in terms of placement? Once you have an idea of what you're aiming for in terms of composition, you can begin to frame your piece.

Framing techniques will not only create a sense of balance in your painting, but also direct attention to certain details or characters within the family portrait. Consider using lines, shapes, and other elements to frame your image. Think about how each element works together and creates a visual flow that guides viewers' eyes through the painting.
In addition to helping create a sense of balance and movement, framing techniques can also be used to emphasize certain elements in your painting. For example, if you want to draw attention to a particular person or object in your family portrait, try using a more detailed border around them. This will help make them stand out from the rest of the picture.
By considering composition and framing techniques when starting your family portrait project, you can ensure that all elements come together harmoniously and make for an eye-catching piece of artwork. With these considerations in place, it's time to move onto drawing the outline of the face!
Drawing the Outline of the Face
Now that you've got the composition and framing of your family portrait figured out, it's time to dive into the details. Drawing the outline of the face is one of the most important steps in any portrait sketch. Here are some tips and techniques for outlining a face in a family drawing.

First and foremost, accuracy matters. You'll want to make sure that your lines are as precise as possible. Use a light pencil to create an outline that captures each person's features accurately and proportionally. When sketching, make sure to pay attention to the small details like eyes, noses, ears and hairlines. These intricate features can really give your portrait sketch that extra level of realism.
To help with accuracy, use a ruler or straight edge when you need it. This can be especially helpful when drawing faces with particularly angular features such as strong jawlines or chins. It's also important not to rush this step - take your time and get it right!
The last tip for outlining faces is to have fun with it! Don't be afraid to experiment with different techniques like hatching or cross-hatching for shading around the facial features or using curved lines for softer looks. With practice, you'll find what works best for you and begin creating unique and expressive family portraits!
You’ll want to practice drawing the family members’ faces in a sketchbook or on loose sheets of paper. Practice drawing their faces separately, then all together to get an idea of their relative proportions. This is a crucial step, as it prepares you for committing these faces to a canvas. Accurately drawing or painting a person’s face is difficult! Don’t expect to get it right the first time, and don’t leave it up to chance. Otherwise, you may waste precious materials. To create a true-to-life family portrait, take your time and practice!
Now that we've discussed techniques for drawing outlines around faces in family portraits, let's move on to painting skin tones...
Painting Skin Tones
Painting a subject's skin color and texture accurately is key to creating a realistic portrait. It can also be one of the most challenging aspects of painting a family portrait.
To begin, the most important thing when painting skin tones is to observe the colors and textures of my subject’s face in natural light. This helps ensure that you’re capturing their true skin color and texture accurately. Taking reference photos in natural light can also help with this process. Once you have observed the subject’s face, look at the color wheel to identify which hues will best recreate their complexion. Then, mix different hues together on your palette to find the perfect combination for their skin tone.
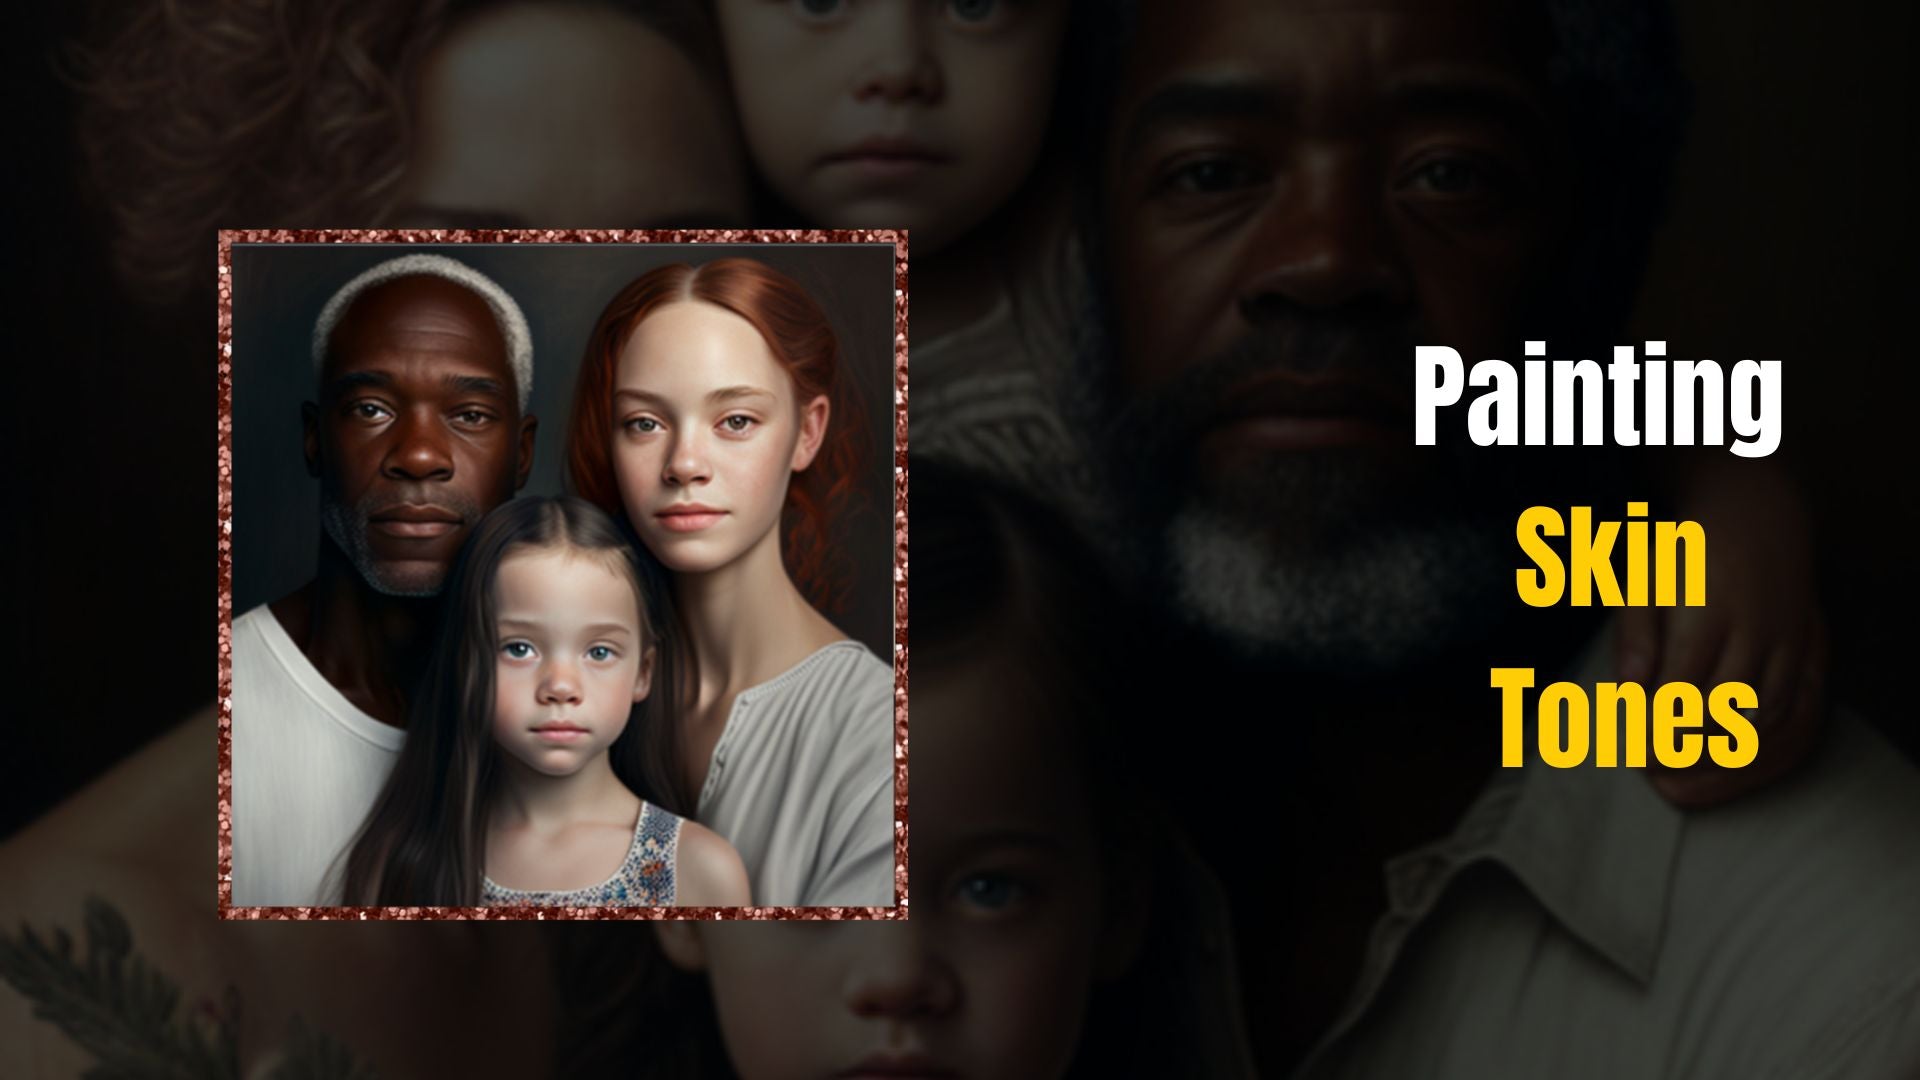
When painting, it’s important to use thin layers of paint and blend them smoothly together. Start by painting the background, usually a solid color or gradient. Once you have the background, you can block out where the portraits will go. From there, you can start working on achieving unique blends of colors for each subject.
It's helpful to work from larger details to smaller ones. Start by defining areas of shadow, such as around the eyes, along the bridge of the nose, and under the cheekbones and chin. From there, work up the details. Experiment with mixing pigments, as not even one person’s face is all the same color. There are parts of the face that are greener and some that are more purple or gray. It takes a skillful eye to notice the variance of color in a person’s face, so be patient, study your subjects, and play around with color.
Once you’ve finished painting your subject’s skin tones, it’s time to add hair, beard and eyebrows to your portrait.
Adding Hair, Beard, and Eyebrows
Adding hair, beard, and eyebrows to a family portrait is a key element in creating an accurate likeness of the subject. When painting facial hair, it's important to consider the individual's unique hair texture and color. For example, if you're painting a portrait of someone with thick, curly hair then you need to use more brush strokes to achieve this effect. The same goes for beards and eyebrows; try using different lengths and angles of brush strokes to create the desired look. When it comes to color, take into account both natural variations and preferences that your subject may have when it comes to styling their facial hair.
Don’t try to paint every single hair. Instead, use a wider brush and textural strokes to cover large areas. From there, add just enough details with a thinner brush. Add darker lines near the roots and in areas of shadow, and pay attention to where the hair catches the light. Note the variation of color and weight in the subject’s hair.

The next step is rendering facial features such as eyes, nose, and mouth. With careful observation of the subject’s features and an awareness of light sources, you can bring out details that will make for a stunning family portrait.
Rendering Facial Features
When painting a family portrait, rendering facial features is essential. To illustrate, consider a father and daughter who both have heart-shaped faces. When painting the father, you would pay special attention to his eyes, which are deep-set under thick eyebrows. His nose is long and thin so you would make sure to capture that in your brushstrokes. The daughter has a rounder face with rosy cheeks and an upturned nose, so you would take care to paint these details accurately without overemphasizing or caricaturing them.

Painting eyes can be tricky if they don't have many defining characteristics. Even when they do, start with the shape of the eye as well as its color before adding highlights or slight shadows around it. Painting noses requires careful observation; every person's nose is unique so use brushwork to bring out small details like bumps or curves.
Mouths come in all shapes and sizes too but most of them feature two lips that are either symmetrical or unevenly sized. When painting chins and cheeks, focus on recreating an individual's bone structure as closely as possible since this helps create a more lifelike representation of them in the portrait.
These facial features work together to form an overall picture of each subject within the portrait. By paying close attention to detail when rendering these features, you can ensure that your family portraits are realistic and captivating.
Working with Different Ages
When working with family portraits, it’s important to consider the ages of the subjects. From toddlers to seniors, each age group has its own unique features and challenges that must be addressed when painting a portrait. Here are some tips for painting age faces and creating portrait compositions in a family portrait.
For toddlers and young children, keep in mind that their features tend to change very quickly, so it can be difficult to capture them just right at one sitting. To make sure you don’t miss any details, take multiple photos from different angles as you go. This will also allow you to practice different shading techniques and create interesting composition ideas on the canvas.

When adding children into a family portrait, it’s important not to overlook the adults in the image either. Focus on capturing how everyone interacts with each other, rather than just focusing on individual poses or expressions. Doing so will create a more vibrant story within your painting and add an element of realism to the work.
Portraits of seniors can often require special attention due to their age-related features such as wrinkles, thinner or lighter hair textures, or age spots.. It’s important to take time when shading the face in order to properly capture their character and personality without making them look exaggerated or harsh in appearance. With a bit of experimentation and practice, any artist can learn how to effectively capture age-related features while still preserving an accurate likeness of the subject.
The key is finding a balance between accuracy and emotion - something that requires skillful artistry but is well worth the effort in creating beautiful family portraits! As you continue working on your piece, remember these tips for working with different ages when painting faces in family portraits for stunning results!
Finishing Touches
As the final brush strokes are laid, the portrait is brought to life. With this step-by-step guide, you can bring your masterpiece to completion with some simple finishing touches.
Adding shadows is essential to create depth and dimension in your painting. Highlights and shadows should be blended with subtlety - too much contrast can overwhelm the painting. When color mixing, start out light and gradually build up intensity on each layer of paint. This will ensure that you don't overwhelm the painting with too much saturation or go beyond the bounds of realism.
Texturing details such as hair, clothing fabric, skin wrinkles, and so forth can give your portrait an extra bit of realism. Blending colors together lightly can help create these textures without harsh lines or edges. Depending on what kind of effect you want to achieve - naturalistic or more stylized - adjust how much texture you include in these details accordingly.

No matter what kind of painting style you choose for your family portrait, it's important to take care when putting those final touches on your masterpiece. With patience and careful attention to detail, you'll be able to create an unforgettable image that captures all the beauty and love of your family perfectly!
Conclusion
Painting faces in family portraits is an art form that requires skill, patience, and practice. With the tips and techniques outlined here, you'll be well on your way to creating stunning works of art to be treasured for generations.
The key to success is understanding how light affects composition and framing, and then being able to accurately draw the outline of the face before adding details. You'll also need to be aware of the differences between painting adults and children's faces. Once you have these basics down, it's time for the fun part - adding features like hair, beard, and eyebrows! Finally, don't forget to add those finishing touches that make each portrait unique - your own personal touch!
Family portraits not only provide lasting memories - they become works of art that are truly one-of-a-kind. With a bit of practice, you can create something special that will bring joy to everyone who sees it. So go forth and paint away!