

If you're looking to learn how to draw realistic portraits, then this article is for you!
The journey of learning how to draw realistic portraits is full of rewards and challenges. With practice and dedication, anyone can become an expert in creating lifelike portraits. In this article, we'll discuss what materials are necessary for portrait drawing, as well as the different techniques used throughout the process, as well as some tips for getting started on your journey into portraiture.
By the end of this article, you'll have all the information needed to confidently begin drawing realistic portraits. So let's dive in and explore what it takes to make beautiful artwork that captures a person's features in stunning detail!
Definition of a Portrait
A portrait is like a window into the soul of the subject - an intricate and intimate look at someone's personality, expressions, and emotions. As an artist, it's your job to capture this essence and present it in a meaningful way. But what exactly makes up a portrait? Let's explore the definition of a portrait and how it can be used to create beautiful works of art.
When defining a portrait, it's important to note that there are many different types and styles. A portrait can be created in any medium, from painting and drawing to photography or film. The focus of the artwork is typically on the person or persons being portrayed, with their facial features, posture, and clothing as part of the composition. Additionally, portraits often express emotion or convey meaning - sometimes both!
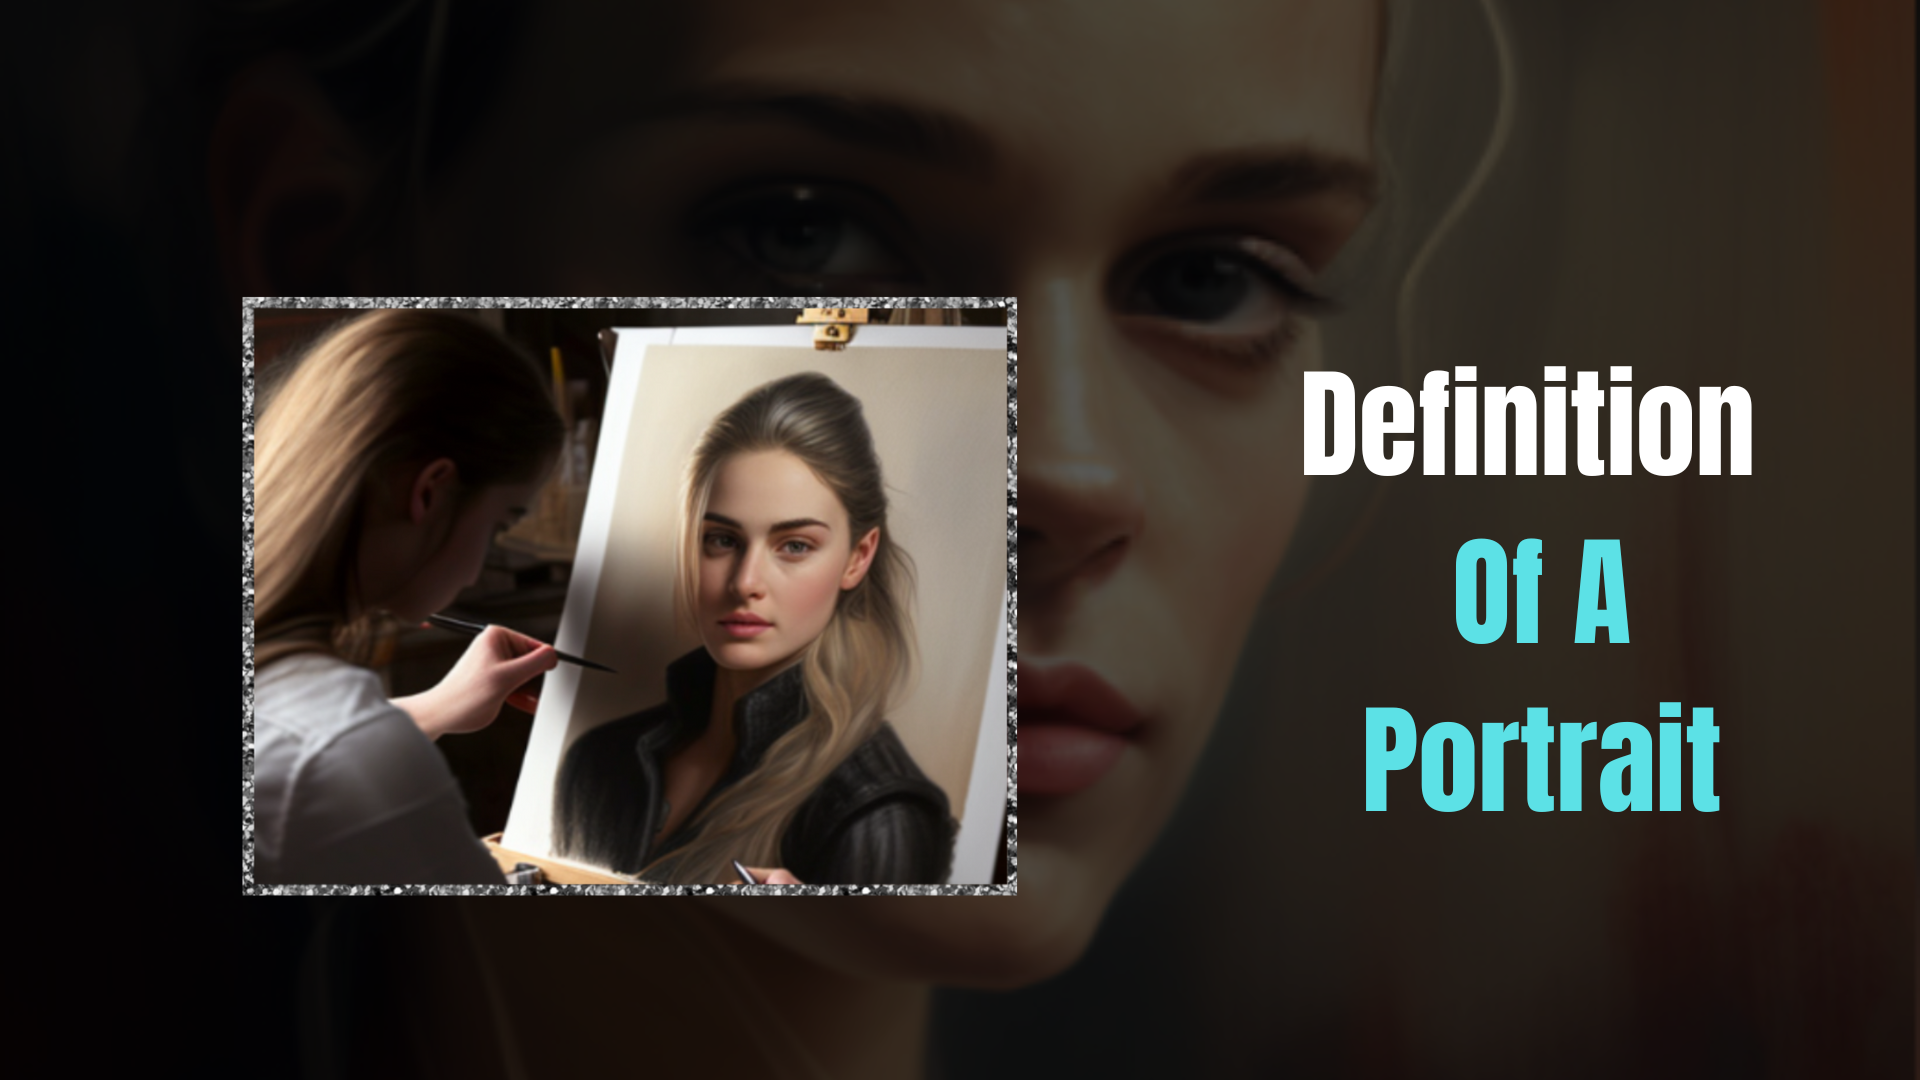
For artists looking to create striking portraits, understanding the basics of portraiture will help them make informed decisions about their work. It's important to consider elements such as lighting, facial expression, and body language when creating a compelling piece. By exploring the definition of a portrait deeply you can create captivating works that are sure to amaze your audience.
With an understanding of what defines a portrait under our belt, let's move forward with selecting the right subject for your artwork...
Selecting the Right Subject
When selecting a portrait subject, it is important to consider the ideal model for your artwork. Do you want to capture a particular mood or emotion? Are you looking for an idealized version of someone in particular? The key is to find the right subject that will bring out the best in your work.
The most suitable subjects for portraits are those with distinct features, such as strong facial structure, unique hairstyles and clothing, or interesting postures. It can also be helpful to take some time observing the potential subject before starting your piece. This will give you an idea of how their features interact with light and shadow, providing valuable information on how best to represent them in your portrait.
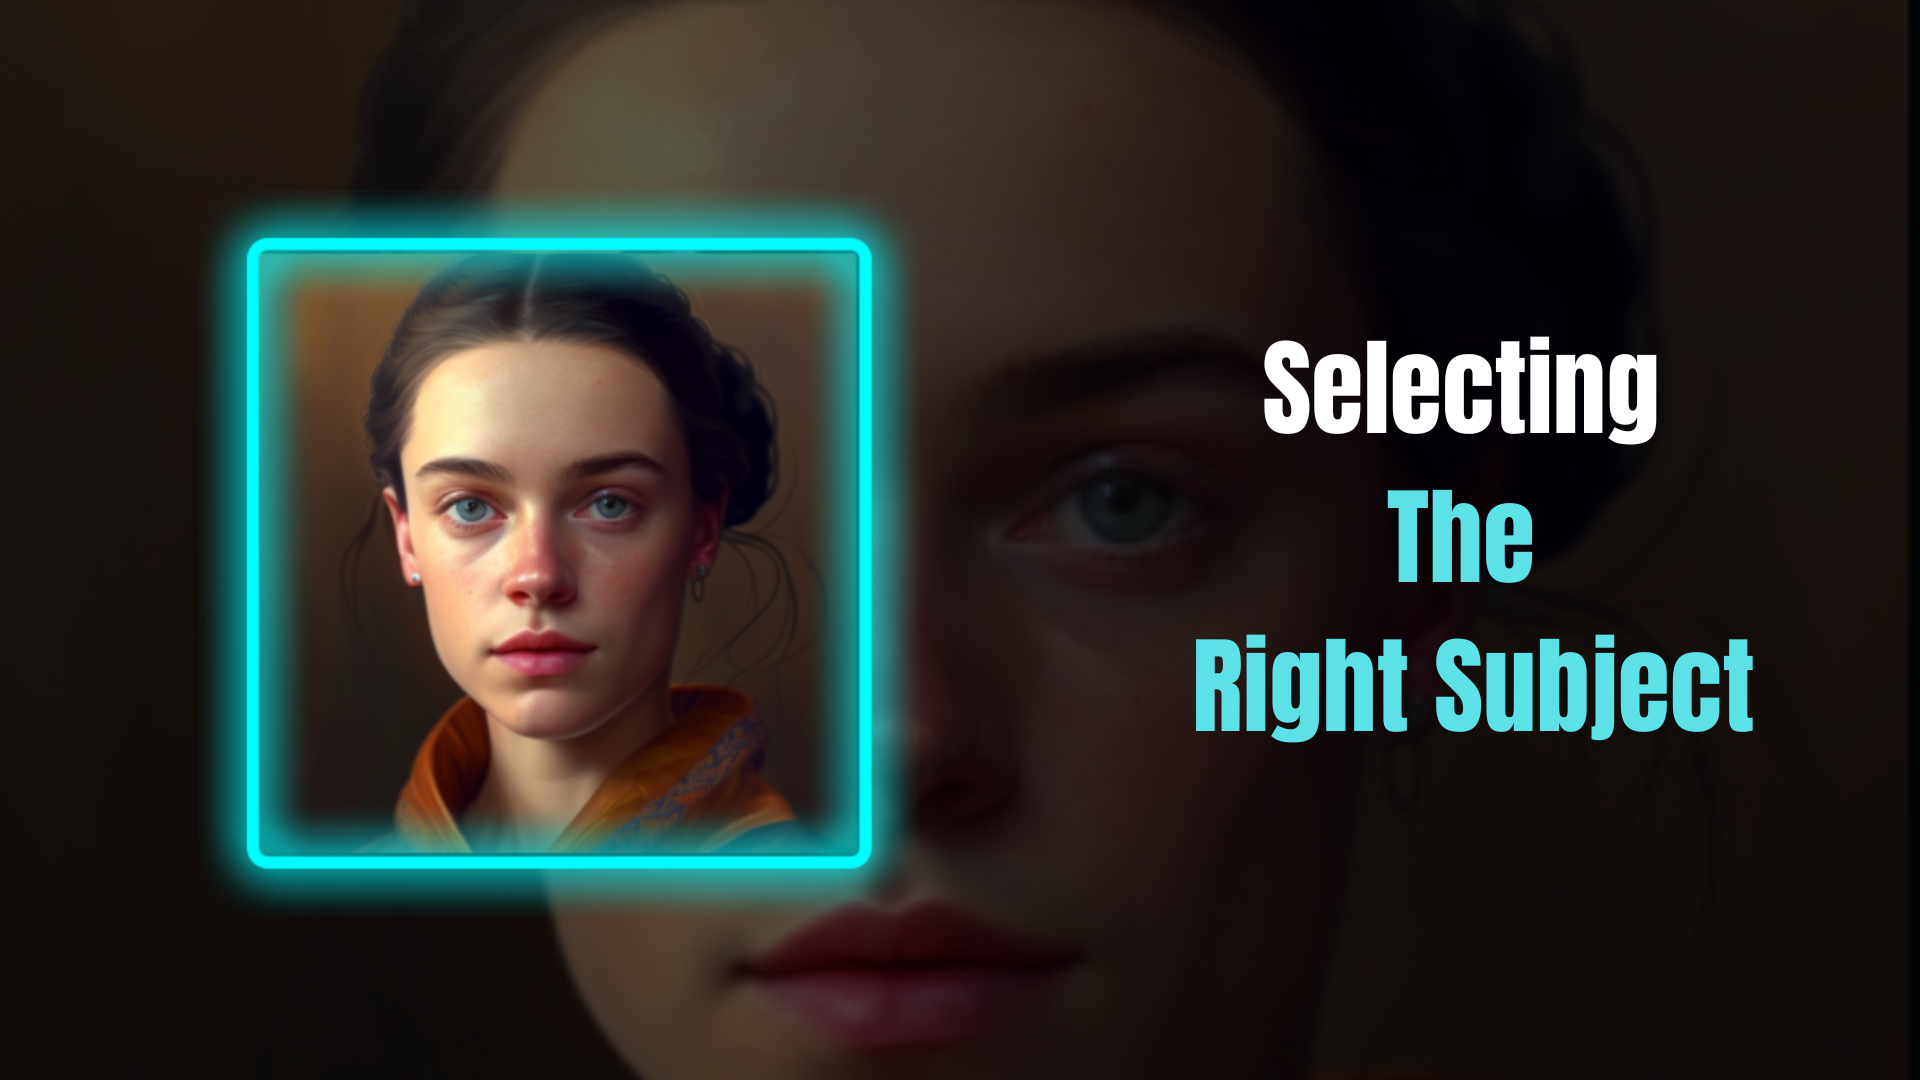
Great portraiture is all about conveying personality and emotion through a thoughtful selection of both subject and composition elements. Once you’ve identified an ideal model - one that captures the essence of what you’re trying to express - then you can move forward with confidence into creating a piece that truly reflects who they are as an individual. With careful attention and skillful execution, you can create a realistic portrait that stands out from the crowd. By having this understanding of how to select the right subject for your portrait, the next step is learning about photorealism versus representationalism when creating art
Photorealism vs Representationalism
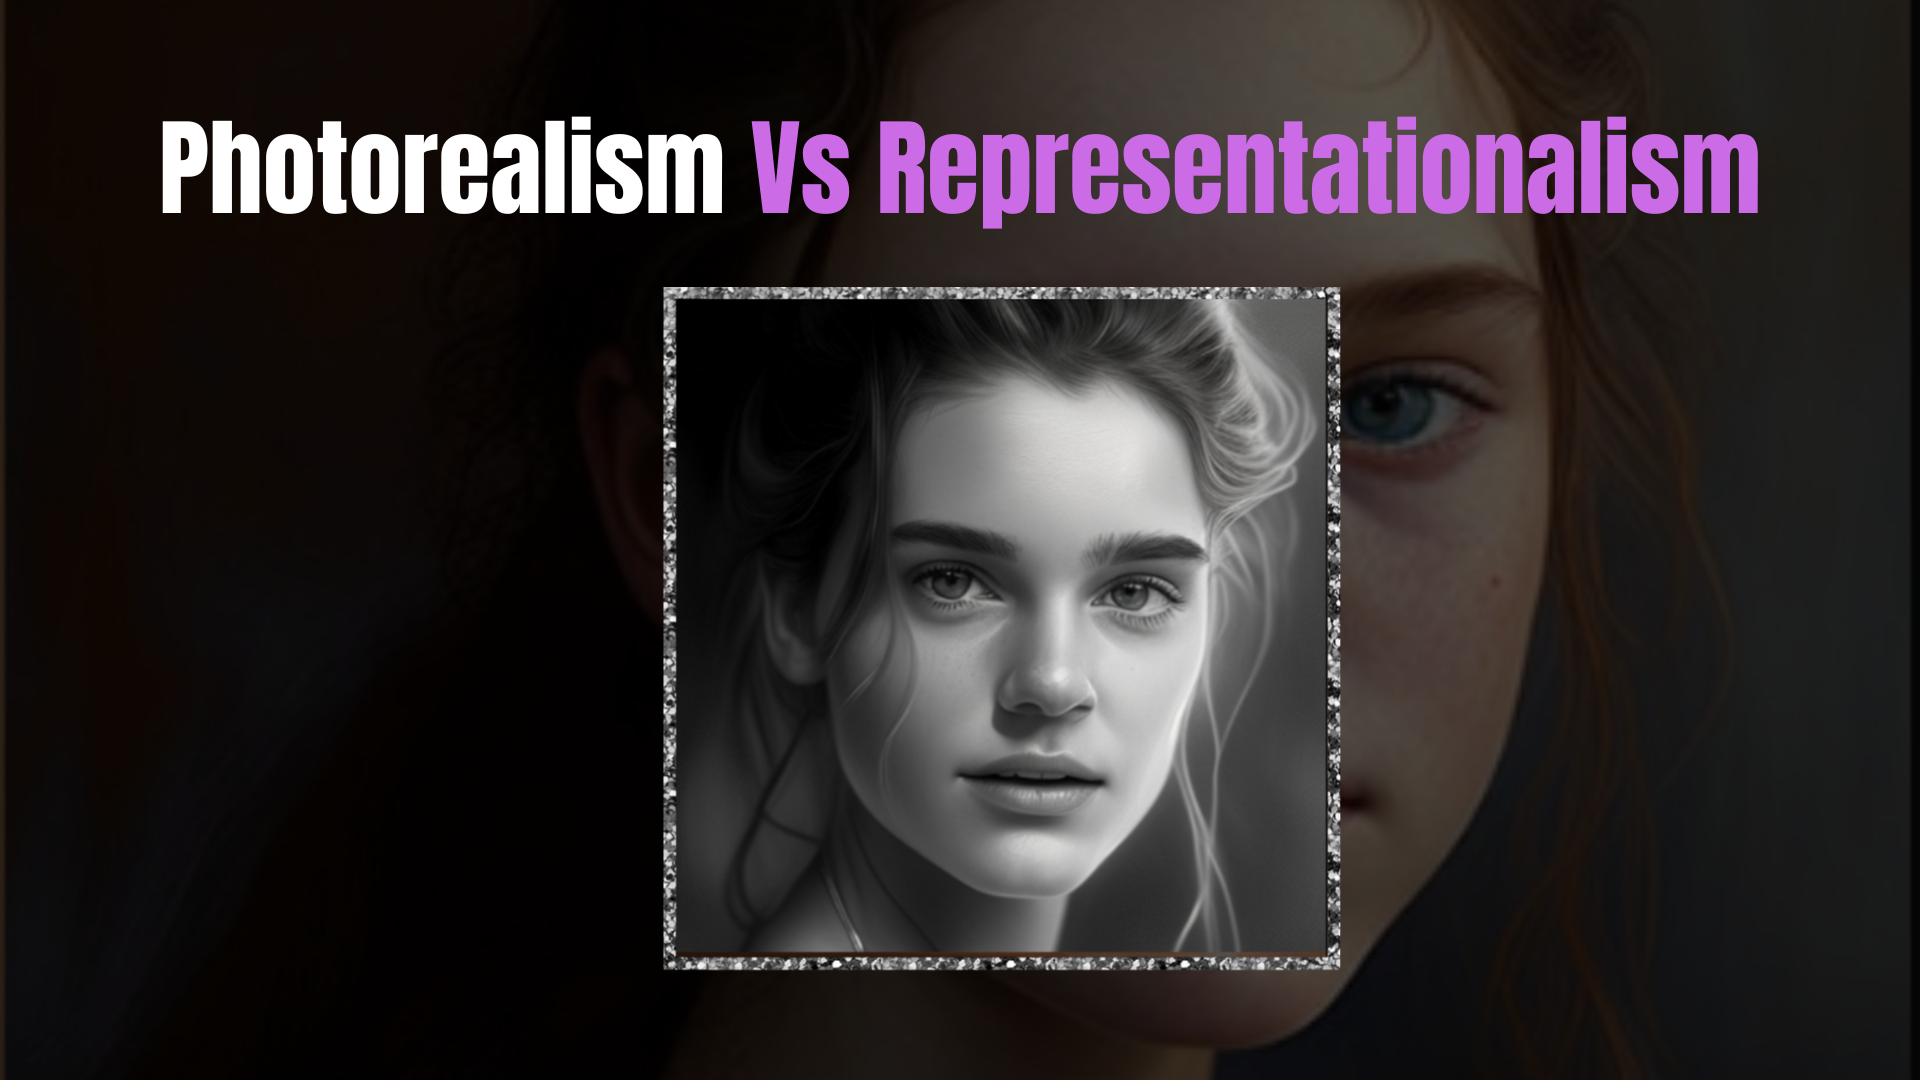
The struggle between photorealism and representationalism is a battle an artist must face when creating a portrait. Photorealism tends to focus on the details, replicating the subject’s likeness as accurately as possible, defining every freckle and wrinkle. . Representationalism, however, is more about conveying emotion and telling a story, rather than focusing on perfect accuracy.
When considering which technique to use for your portrait drawing, it is important to consider art supplies necessary for creating a work of art that captures the essence of your subject. You can also use different techniques like stippling and cross-hatching to create texture and depth in your portrait.
No matter which style you decide to go with - photorealistic or representational - it's important to keep in mind that the key to successful portrait drawing lies in understanding proportions and perspective. By mastering these skills, you can create an accurate representation of your subject while still allowing some freedom within your artistic expression. Your artwork should be able to capture both realism and emotion - a powerful combination resulting in beautiful portraits. You can practice proportions and perspective before starting your portrait. Make it a habit to practice often, study artists and their techniques, and perhaps even take a course or find instruction online for when you feel stuck. Having the technical skill is imperative to doing right by your subject.
Understanding Proportions and Perspective
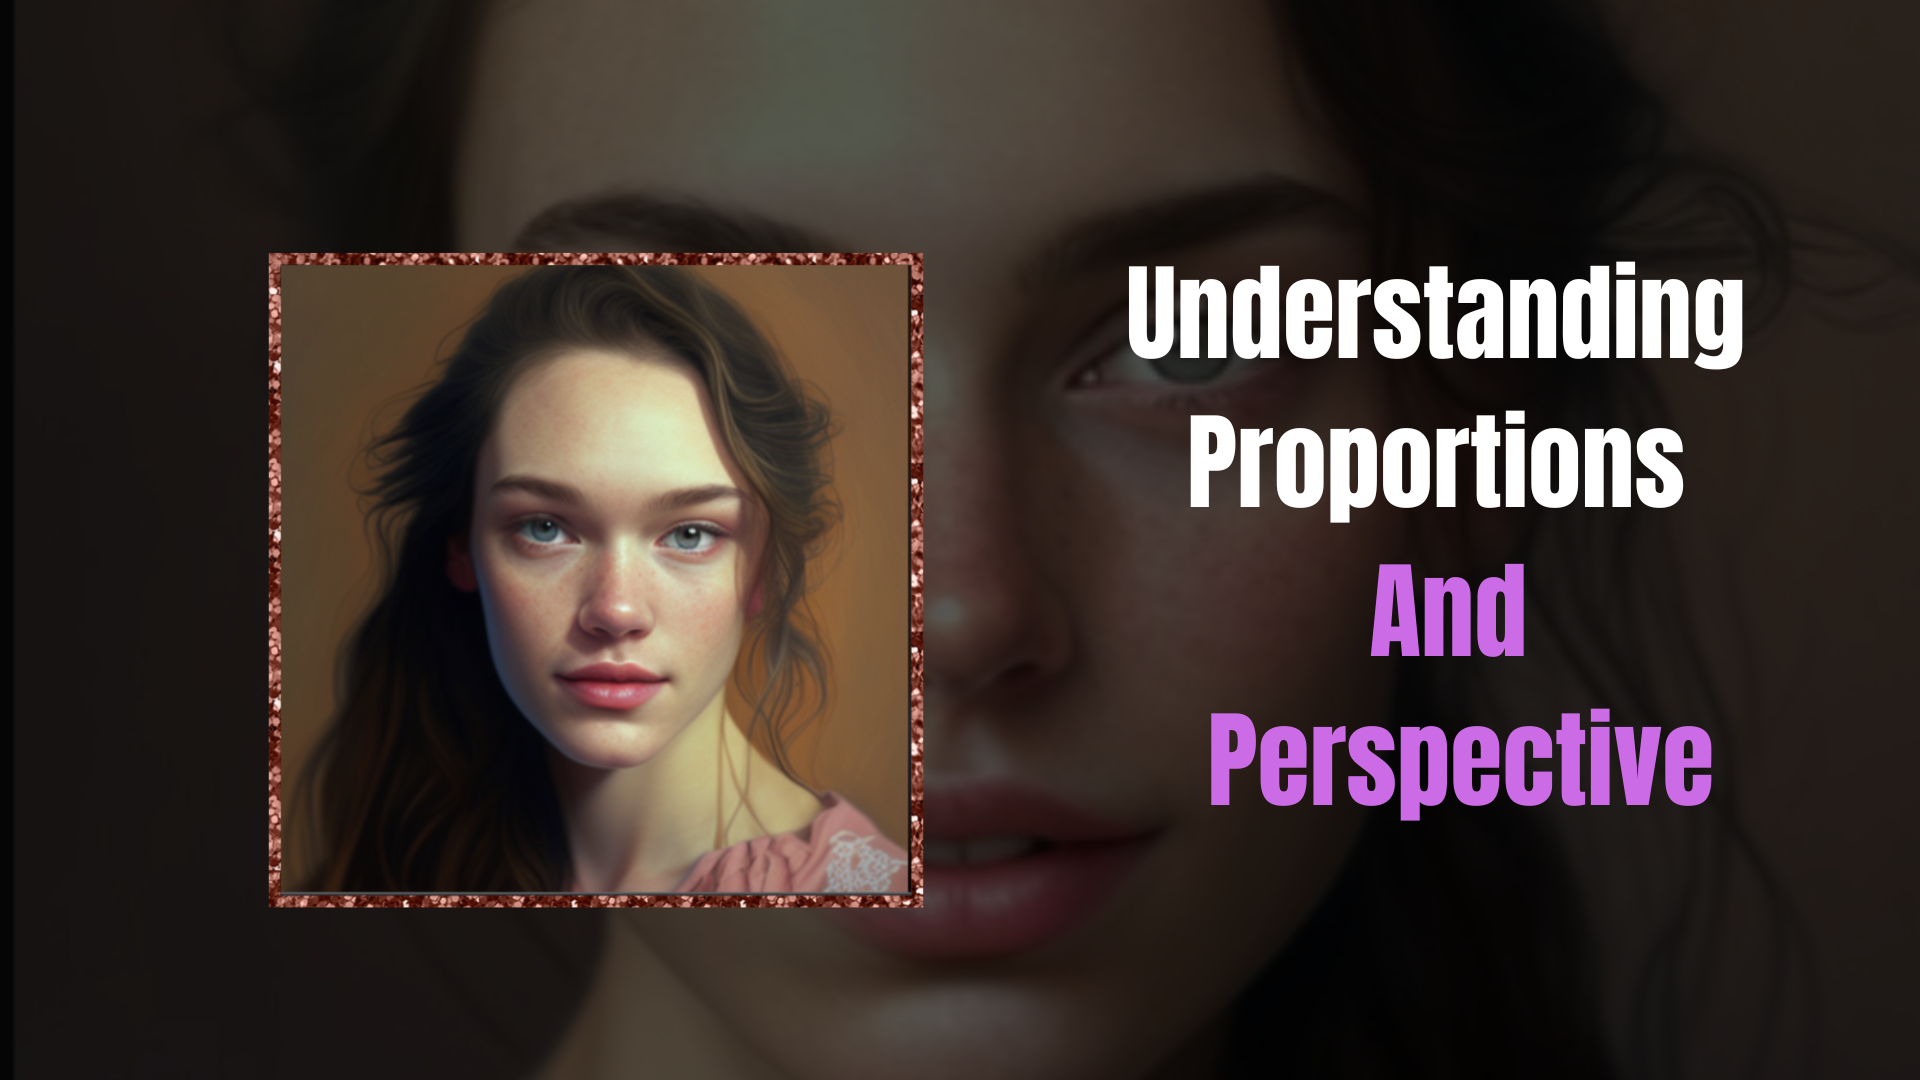
Proportion and perspective are fundamental elements used in any kind of art, but they take on particular importance when drawing realistic portraits. Here are some tips for understanding proportions and perspective:
Understanding Proportions
Drawing faces in proportion:
- Pay attention to the distances between features such as eyes, nose and mouth. It can be helpful to use reference photos or a proportional grid when drawing these features. There are some little tricks you can use to draw a person’s face more accurately. Generally speaking, the bottom of the ear lines up with the bottom of the nose, when looking at a person’s face head-on. The tops of their ears will line up with their eyebrows.
- When drawing hands or other body parts for a portrait, make sure that they are also in proportion with each other and with the face. This will ensure your portrait looks realistic. A person’s hand is generally the size of their face, which can give you some reference for other body parts as well.
- It is most useful to practice drawing a person right in front of you. If there is one available in your area, you can join a life drawing class. This will not only give you space and time to draw a person’s face and body, but also give you access to an instructor’s feedback.
Drawing objects in proportion:
- Objects should also be drawn accurately in proportion if you want your portrait to look realistic. You should pay attention to size, shape, angles and distance between objects when drawing them.
- For example if you are drawing a chair make sure that its legs are all of equal length or if you’re drawing an apple make sure it looks like an apple rather than an oval shape!
Understanding Perspective
Creating depth:
An easy way of getting started with perspective is by using one-point perspective which involves having all lines radiating from one point on the horizon line ( representing eye level). This technique can be used for both interior and exterior scenes but works best with simple objects such as boxes or cubes!
Adding atmosphere:
Perspective can also be used for adding atmosphere or mood to your portraits by changing the angle or viewpoint from which you draw your subject matter. For example if you want your portrait to have a sense of loneliness then use low angle shots so that buildings loom overhead; if you want your portrait to feel more intimate then use a head-on or slightly higher angle to make it feel like the viewer is right in the scene.
Choosing the Right Art Supplies
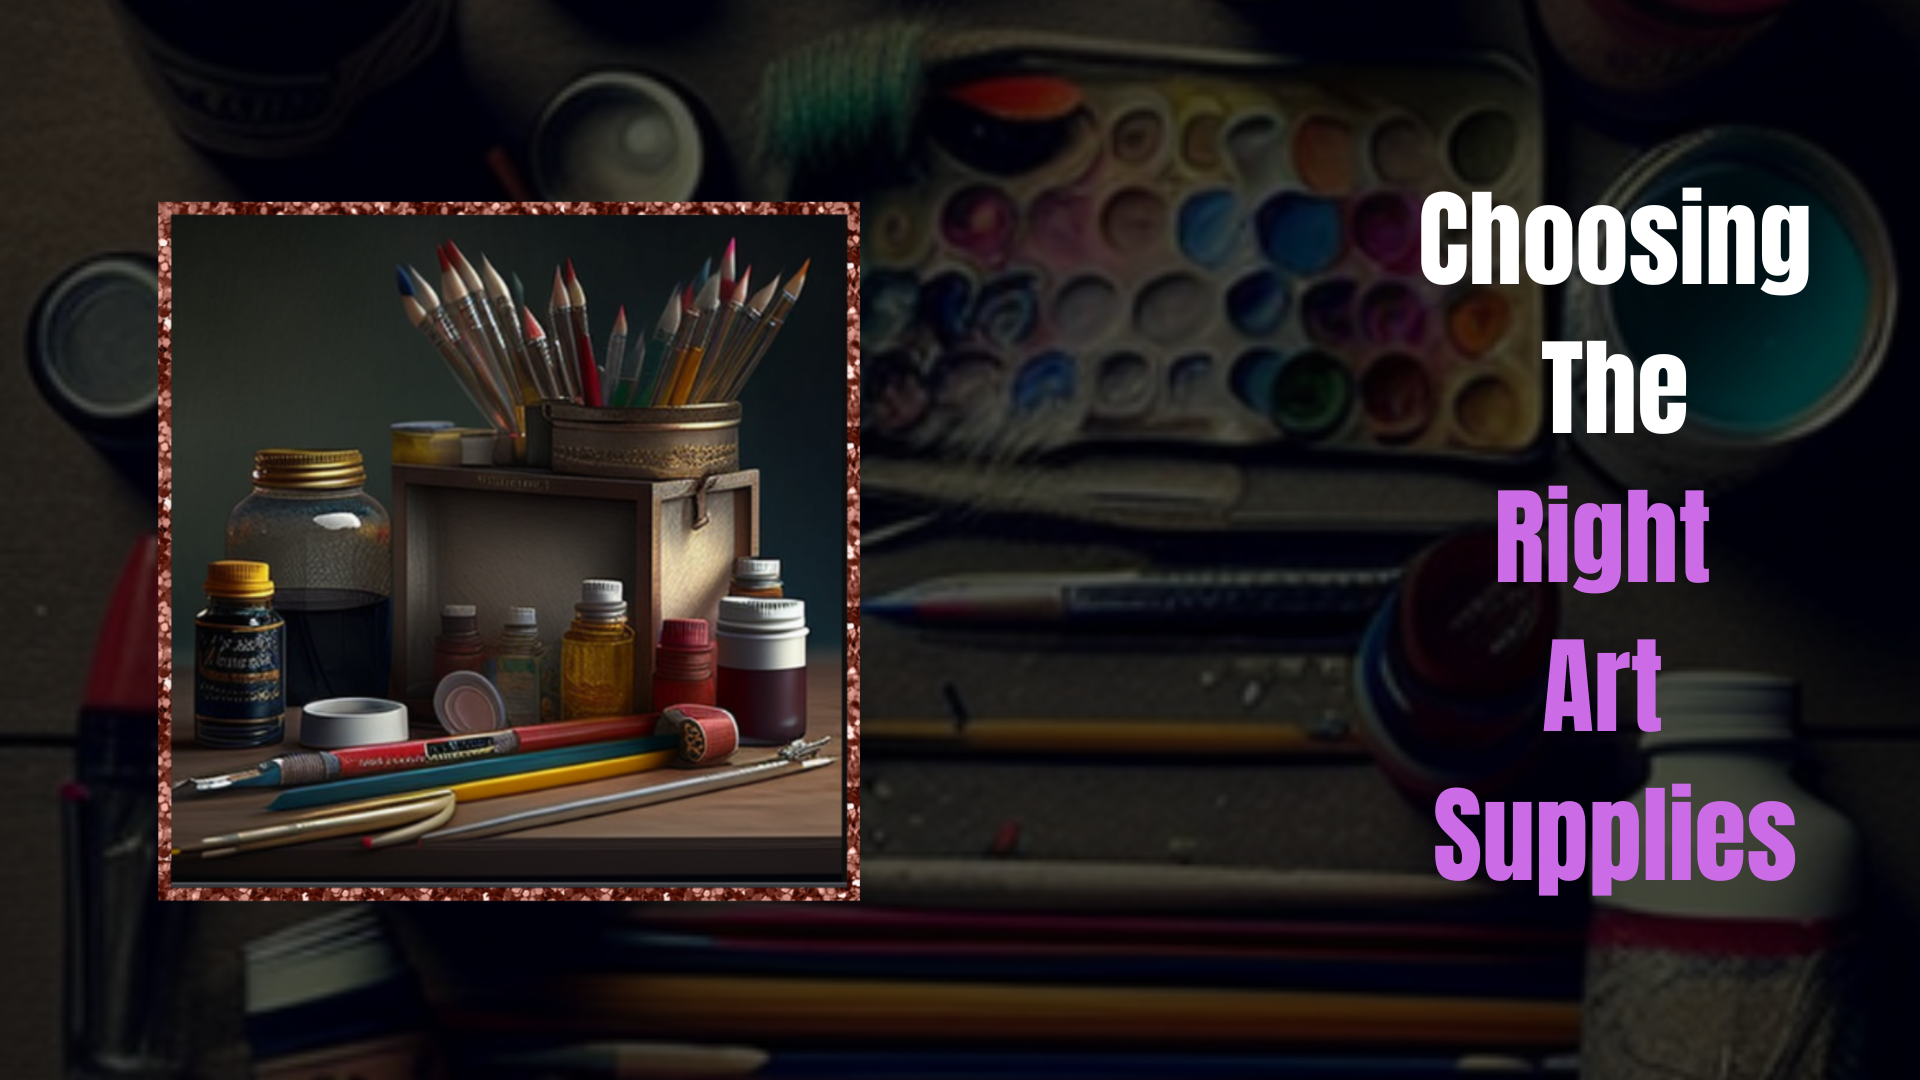
As an aspiring portrait artist, it is essential to choose the right tools when beginning this creative process. There are many options available when it comes to selecting portrait supplies, but narrowing them down to the basics will make the task easier.
When considering basic art supplies for drawing portraits, start with pencils and paper. Pencils come in different degrees of hardness and darkness and will affect how you achieve certain effects in your artwork. Graphite pencils range from H (hard) to B (soft), and having a set of pencils is a good choice for beginners wanting to draw realistic portraits. Charcoal pencils also provide excellent shading options but require more practice and experimentation than graphite pencils.
Paper is another important factor when creating portraits. Acid-free paper with a smooth surface is ideal for achieving detailed drawings and allows for easy blending of colors. A higher weight paper will be more durable and hold up better over time, so look for something that is at least 130 pounds or heavier if possible.
Choosing quality materials can help ensure your drawings have the highest level of detail and realism possible, setting you up for success as you progress through the drawing process.
The Drawing Process
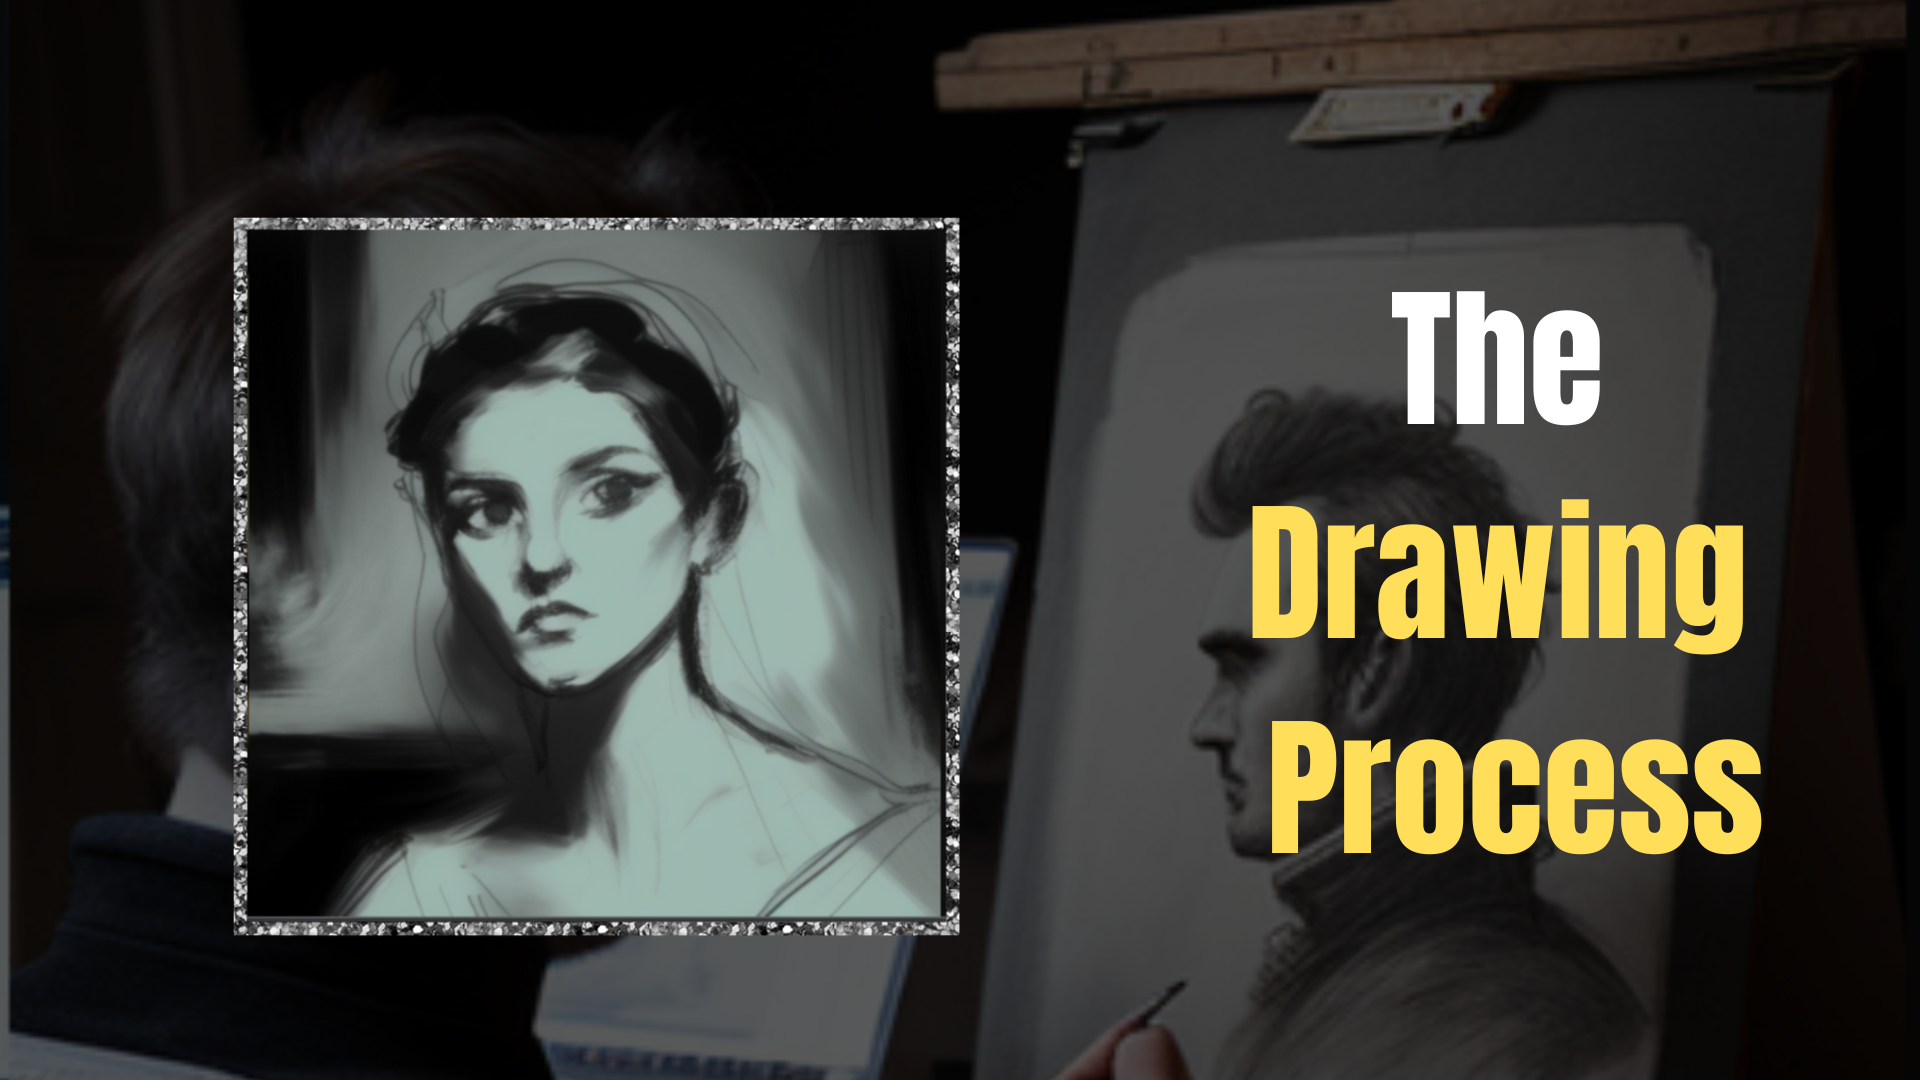
The drawing process begins with the sketching of an outline. It is important to develop a good sense of proportions when sketching the initial outline, as this will be the foundation for all future pencil strokes. Proportion mapping is key in creating realistic and balanced portraits. Here, you study the form you are drawing, and measure from a distance using your pencil. Hold your arm straight out in front of you, lining up the tip of the pencil with one end you are measuring. Then, mark where the measurement ends with your thumb. You can then check your sketch to make sure it is consistent with these measurements.
Once the initial sketch has been completed, begin to layer and blend your pencil strokes. This is where you will add shades, shadows, and highlights to bring life to your portrait. Always start lightly with your pencil, and draw loosely at first. You can easily alter a faint line. Don’t bother erasing at this point of the drawing. You should build up lines and work an area until you’ve found the right shape. Take a step back once in a while to compare what you’ve drawn to your subject’s actual features. By taking these steps, you can ensure that all elements are included in your drawing for a highly detailed composition.
Blending and Shading Techniques
Blending and shading are two of the most important techniques that artists use when making a portrait look lifelike. In this section, we'll explore how to use these essential drawing basics to create realistic portraits.
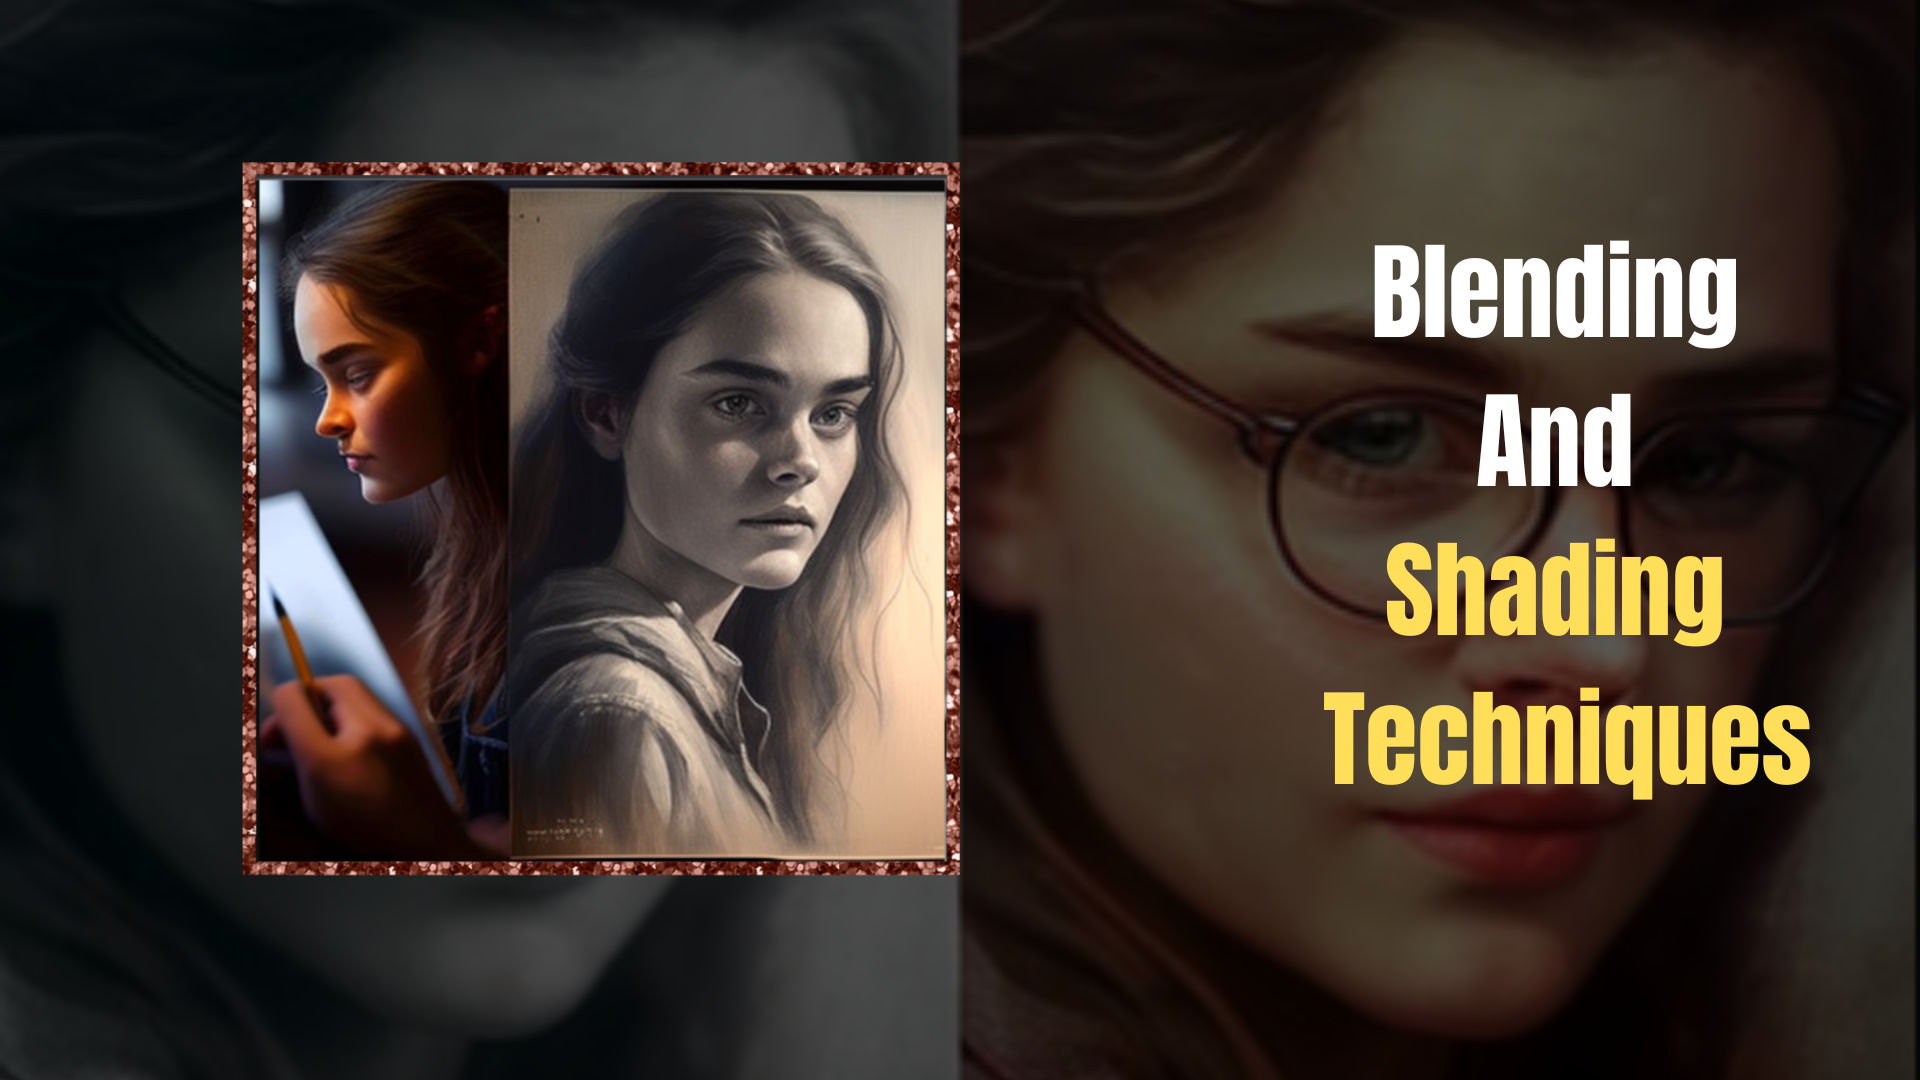
The first step in blending and shading is understanding the basics of portrait sketching - how light reflects off of different surfaces, how shadows form on one's face or body, and other elements that can add depth to a portrait. Once you have an idea of what you're trying to achieve, you can start blending colors together for more realism. Experiment with different brush strokes and techniques such as hatching or cross-hatching to bring out subtle details in your portrait. These techniques will help bring out areas of light and dark that add dimension to your work.
Finally, adding shadows is one of the key steps in creating a lifelike portrait. Shadows have different intensities depending on where they fall on the subject's face or body. Pay close attention to where shadows should be placed and make sure that they are blended well into your overall drawing so that they don't overpower anything else. With practice, you'll become more proficient at blending and shading which will take your portraits to the next level!
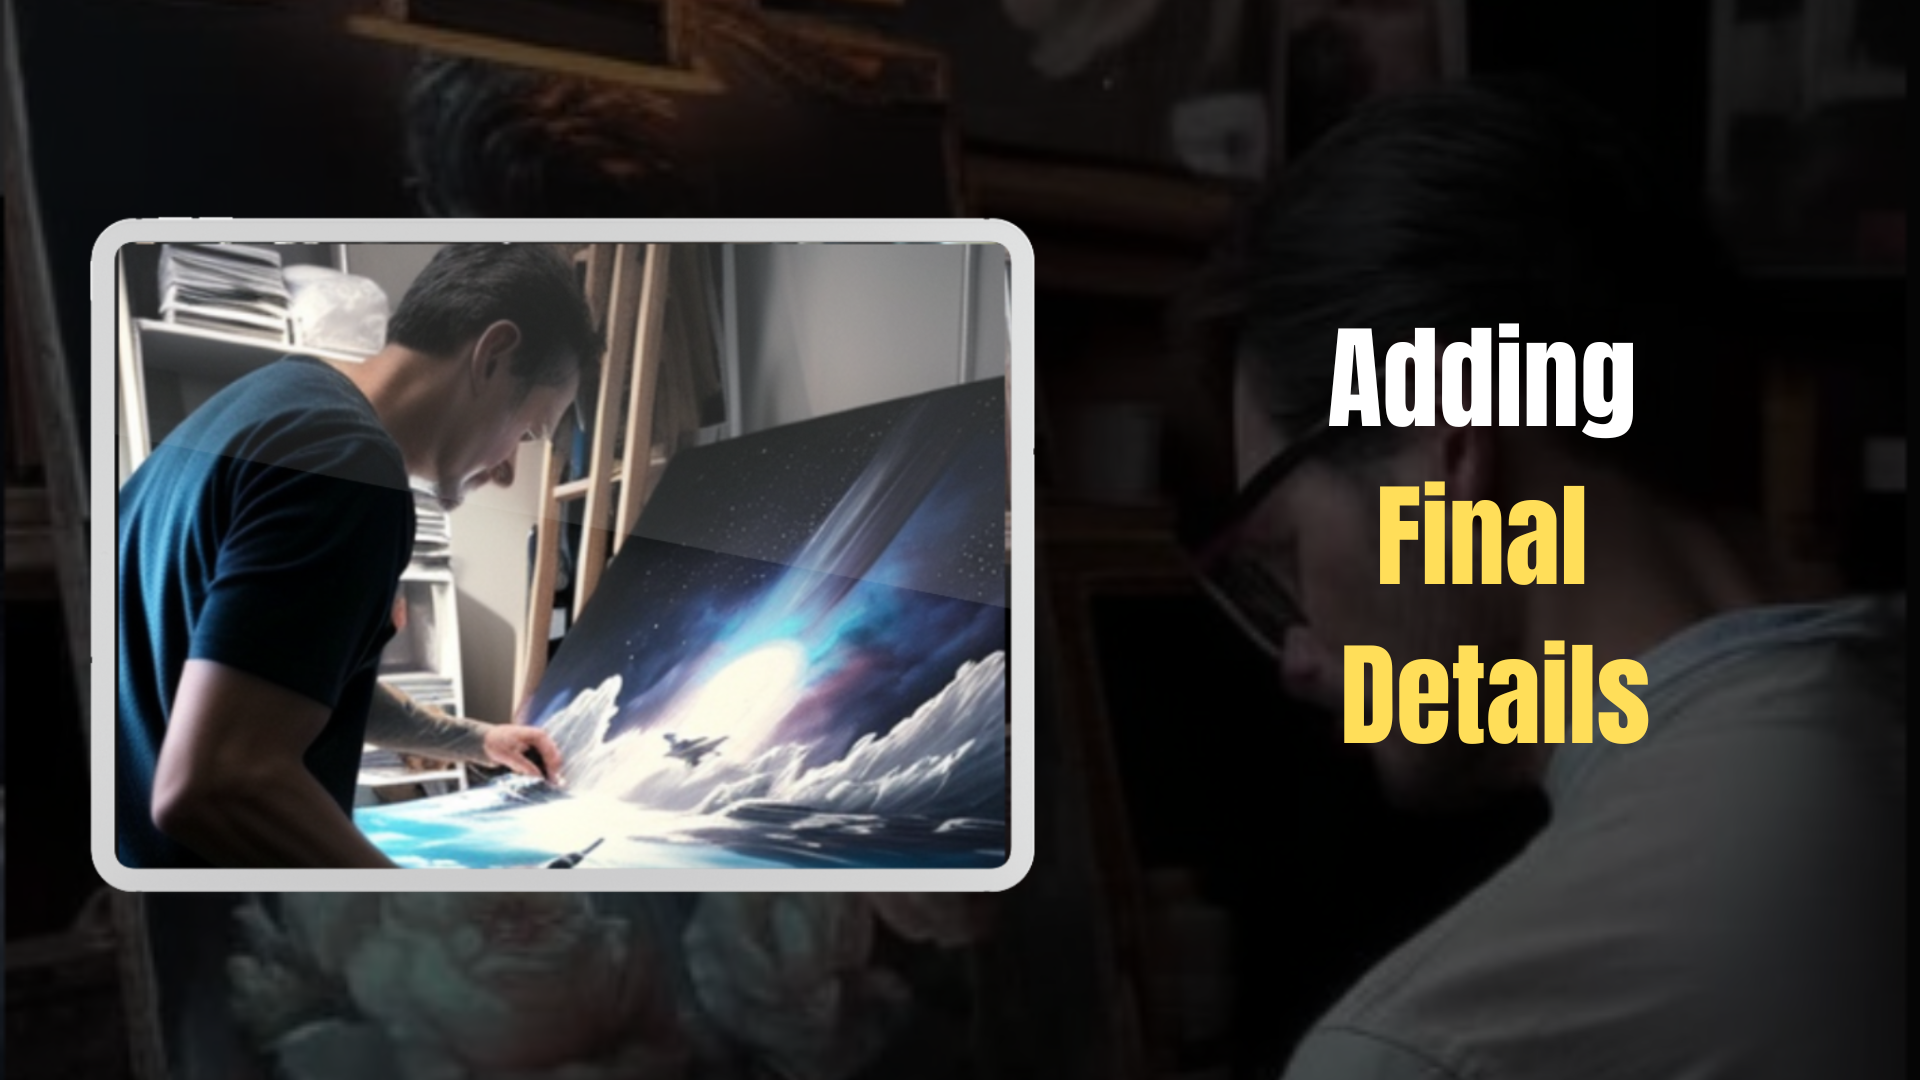
Adding Final Details
Once you have mastered the basics of portrait drawing, you can really bring your work to life by adding realistic details. Here are a few tips for adding these final touches:
- In order to capture realism in a portrait, pay attention to every little detail, such as eyelashes, hair follicles and fine lines on the face. Don’t add so many that it looks uncanny. Keep in mind what a viewer would see from a specific distance, and draw the details that you can see from that same distance.
- Work with a variety of mediums, such as charcoal pencils and white pastels, to create depth and texture in your artwork.
- Charcoal pencils are great for creating subtle shading effects on the skin and clothing of your subject.
- White pastels or erasers can be used to highlight certain areas of the face and body for added realism.
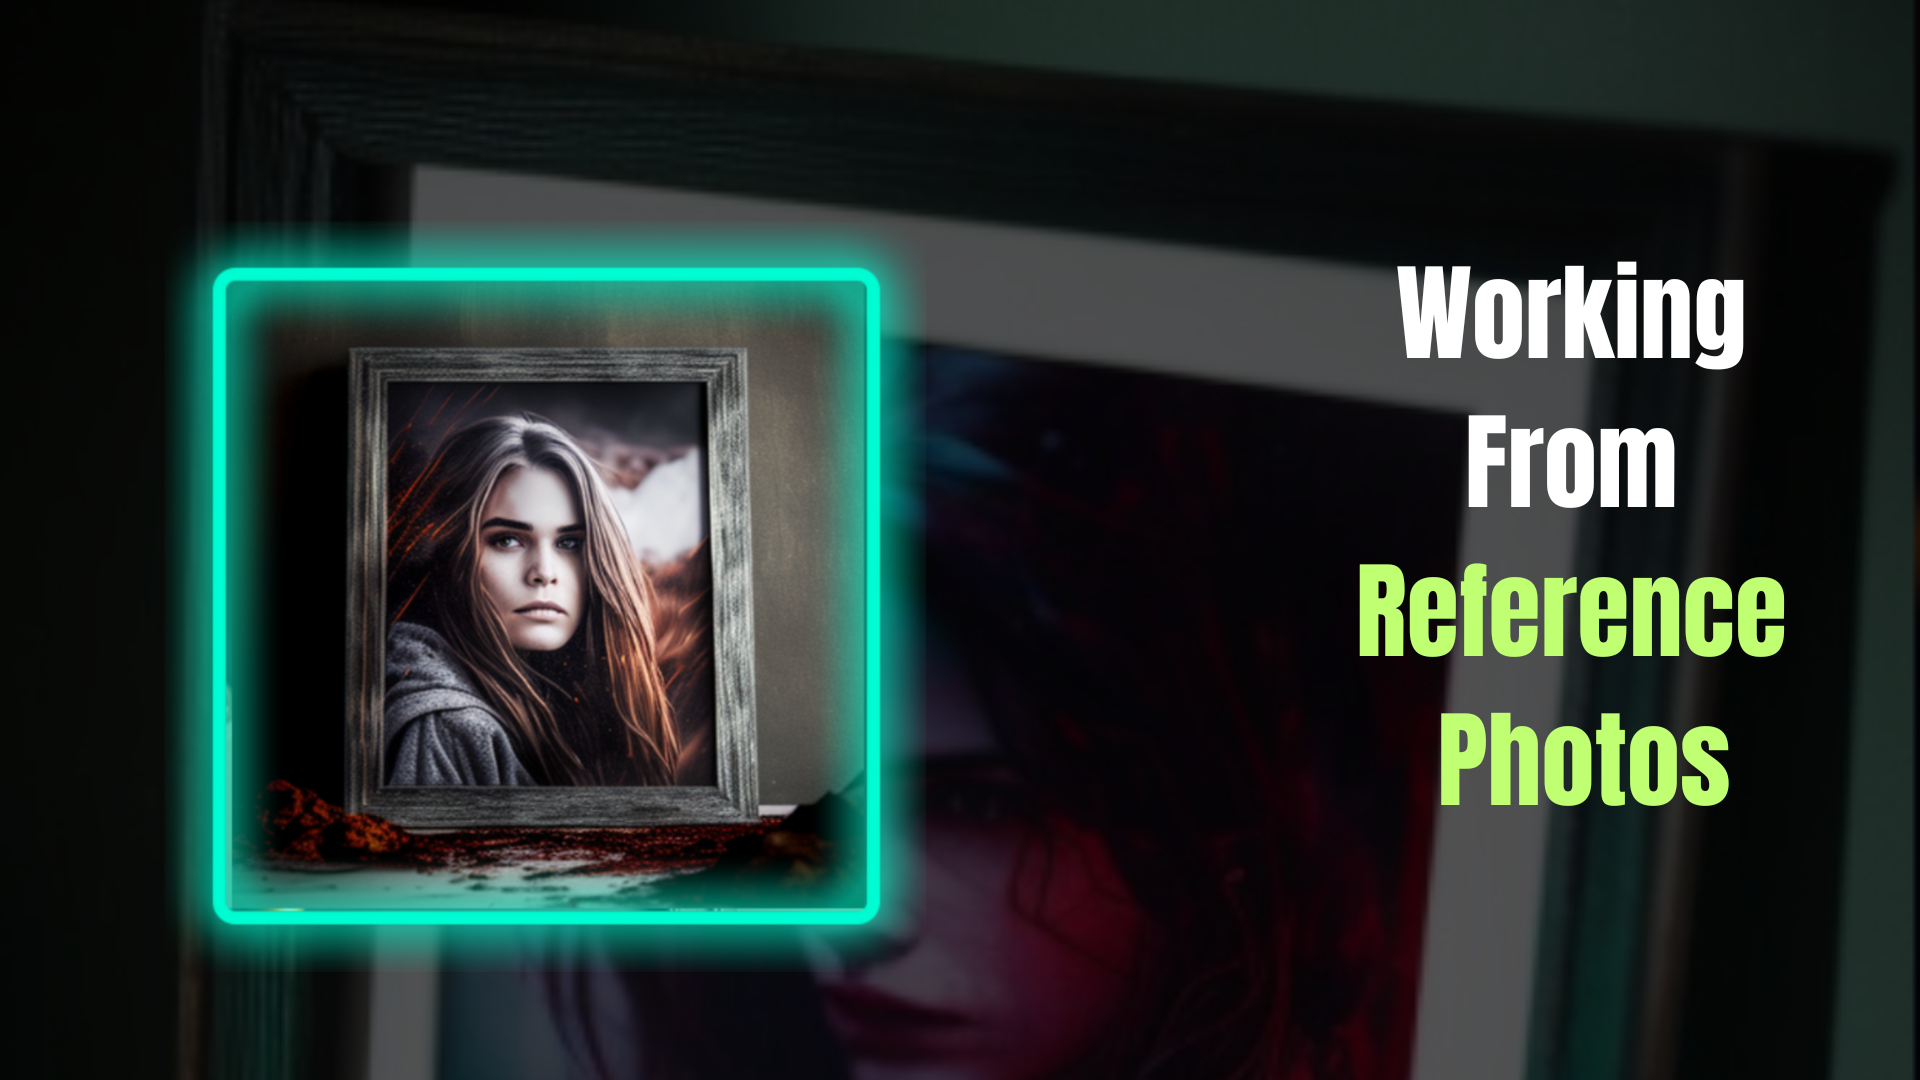
Working from Reference Photos
If you can’t draw a portrait from a real life subject, reference photos allow you to capture the subject’s features and expressions accurately and provide something tangible for you to work with.
A good photograph has clear lighting and distinct shadows, and includes details like facial expressions and clothing textures. Gathering several reference photos of your subject can be useful too; this way, you can get multiple angles of the same person or object and even mix and match features from different images.
As you begin working on your portrait, use your reference photos as a guide but take creative liberties where necessary. For example, if the shadows in your reference photo appear too dark or light, feel free to adjust them accordingly while still maintaining realism. Remember that all artists have their own unique styles, so don’t be afraid to bring some of yours into your drawing! With practice and patience, you will soon be able to create stunningly realistic portraits.
Practicing Your Skills
When practicing, focus on the fundamentals of drawing, such as line quality and proportions. Pay attention to details such as facial proportions, hair texture, and clothing folds. Working from references or photographs will help you better understand the structure of a face, the light source, and composition.
Another valuable technique for improving your portrait drawing skills is to practice with levels of detail. Start by working on larger shapes before focusing on small details like wrinkles or strands of hair. This approach will help you build up your confidence as you work towards creating a more accurate and detailed portrait. Finally, take time during each session to evaluate your progress from previous drawings and use that knowledge to improve your current piece. If possible, it is incredibly helpful to seek feedback from someone who is better skilled at drawing.
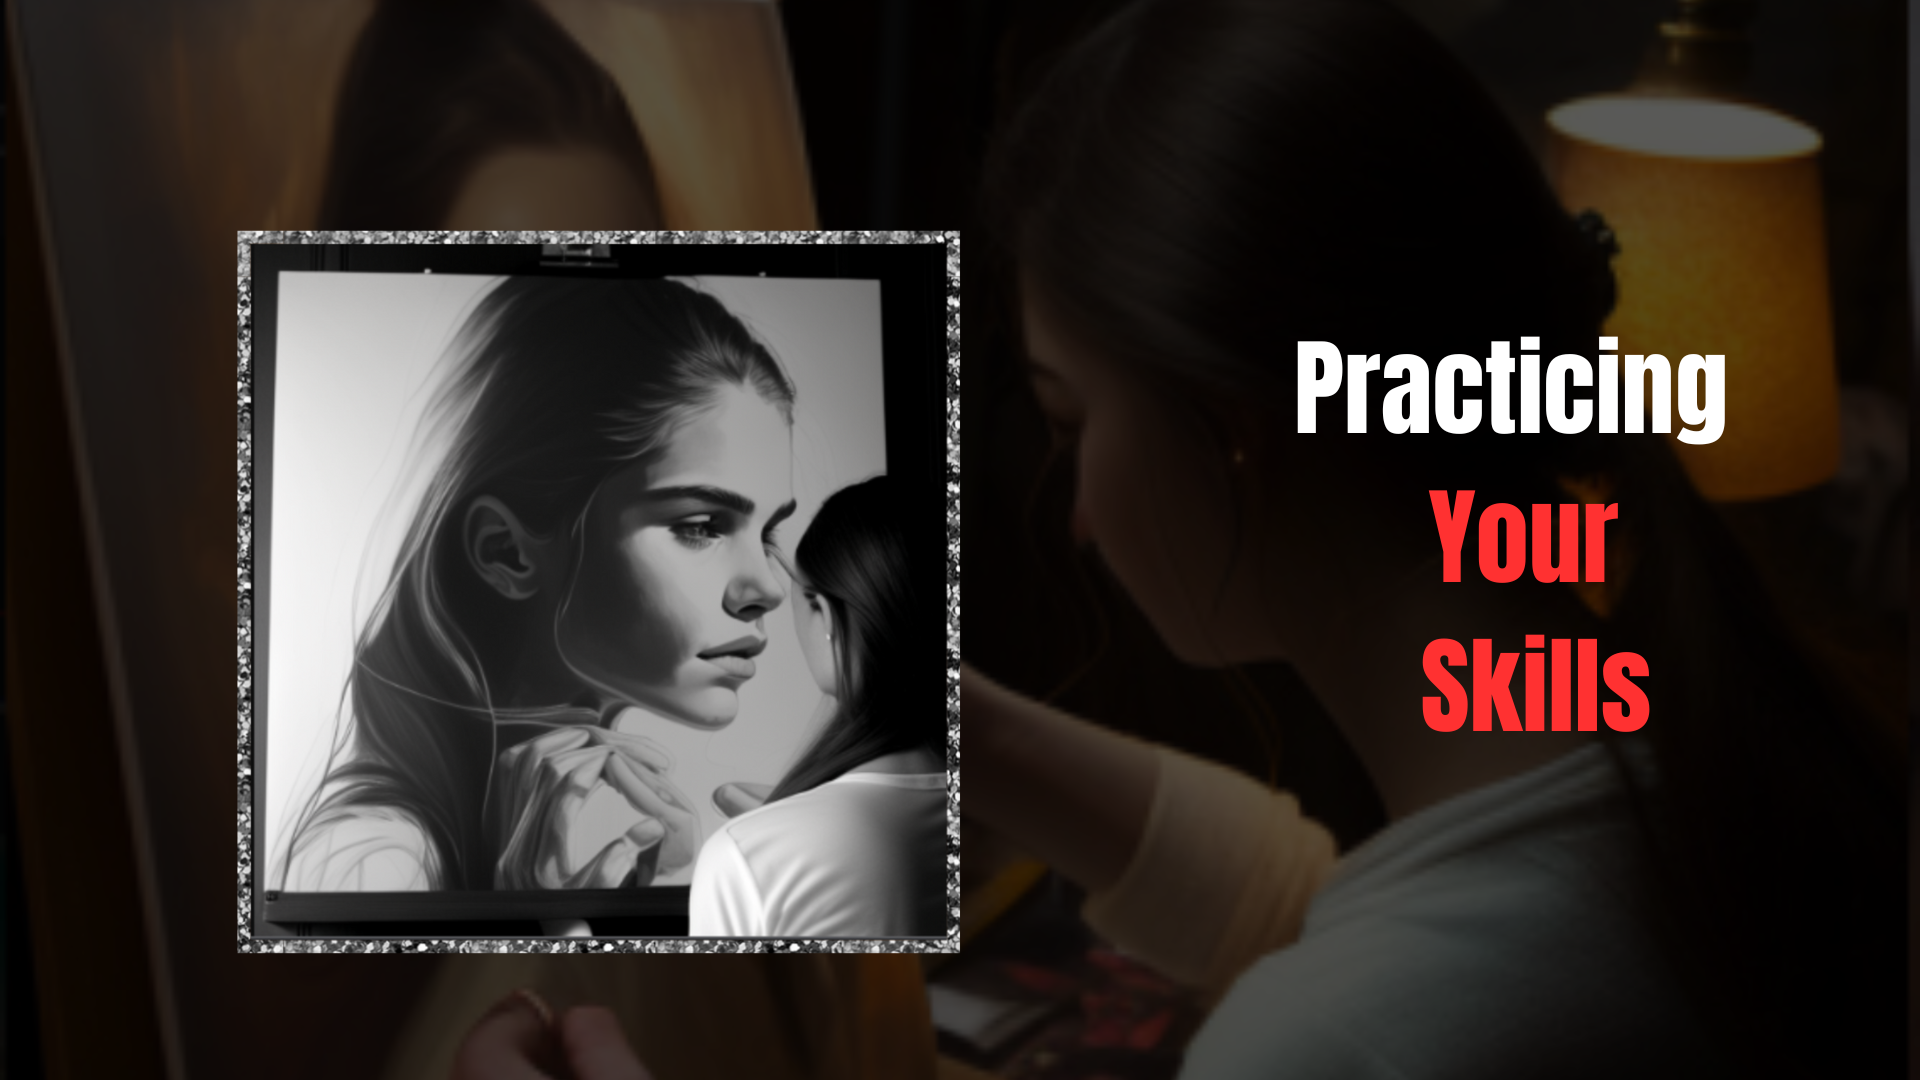
Practice makes perfect when it comes to learning how to draw realistic portraits. With dedication and perseverance, even beginners can gain the skills necessary for producing lifelike artwork. Strive for accuracy in every stroke of your pencil and continually strive for improvement until you achieve the level of realism desired in your artwork.
Frequently Asked Questions
How Much Time Should I Spend on Each Portrait?
Creating realistic portraits is a skill that takes dedication, practice and an appropriate amount of time to truly develop. When it comes to allotting time for portrait drawing, it can be difficult to know exactly how much should be spent on each piece.
When practicing, start off with a short session. With live models, the first few sketches are done in a matter of minutes. Artists then progressively add time, and the model changes their pose with each drawing. A final sketch may last an hour! This incrementing time allows for you to focus on what matters: getting the general shapes onto the paper right away, and to be able to measure proportions faster and faster. Starting off with a short amount of time prevents you from getting too focused on one area before the whole composition has been mapped out.
When considering the amount of time you should dedicate to a portrait, think about the complexity of the image. If the piece is detailed or includes intricate elements, more time may be necessary in order to achieve a realistic finish. Additionally, if you are creating a commissioned piece it may require more effort than other projects due to client expectations and extra details required by them.
Breaking down your overall project timeline into smaller goals and tasks can help give structure and clarity when allocating your portrait drawing time. For example:
Creating the Sketch: 30 minutes - 1 hour
- Drawing out initial shapes and features
- Refining line work and details
Establishing Value: 45 minutes - 2 hours
- Blocking in large shapes with light/dark values
- Refining light/dark transitions
Adding highlights and shadows
Final Touches: 30 minutes-1 hour
Making adjustments as needed
Softening edges
Adding color, if desired
By breaking down your project into smaller goals, you will have a better understanding of how long each stage will take, allowing you to better manage your portrait drawing time while still achieving professional results.
What is the Best Way to Choose a Reference Photo?
Choosing a reference photo is an important step in creating a realistic portrait. The reference photo serves as the foundation for your project, so it’s essential to pick the right one. Here are some tips for picking the perfect reference image for your portrait:
- Consider the size and shape of the face.
- Look for subtle facial features like wrinkles, freckles, or moles.
- Pay attention to the shadows and highlights on the face.
- Choose an image with good lighting and resolution.
- Make sure you have permission from anyone who appears in the photograph.
Selecting a well-lit image that contains all of the necessary details can save time in the long run by eliminating any guesswork during portraiture creation. Additionally, having permission from anyone who appears in the reference photo is essential for avoiding any legal issues down the line.
It is also important to pay attention to how you crop or zoom into your chosen image before beginning your project. You'll want to make sure that all of the key features, such as eyes, nose, mouth, are visible. Start off with a simple pose or posture, such as head-on. As you get used to drawing the proportions, you can start taking on more challenging poses. Taking these considerations into account when selecting a reference photo ensures that you create a realistic and accurate representation of your subject.
How can I Add Texture to My Drawings?
To create stunning textures in your portraits, consider the tools at your disposal, such as pencils and shading techniques like blending and detailing. With these tips, you'll be able to craft beautiful pieces that look truly lifelike.
Using pencils is an essential part of adding texture to a portrait. The type of pencil you use will directly affect the results of your drawing - from hard graphite providing sharp lines to softer lead creating more diffused shading. Experiment with different types of pencils and pressure on the paper to get the various effects you want in your drawing. Additionally, keep in mind that you don't need to limit yourself to just one kind of pencil. Use a variety for greater control over the outcome of your work.
To further refine the textures in your drawings, try using blending techniques such as smudging or hatching. Smudging allows you to soften edges and blend colors together while hatching helps create subtle gradients between shades. You can also use these techniques in combination with detailing to add even more depth and realism to your portrait. Varying pressure on the pencil while shading can help draw out fine details like strands of hair or wrinkles on skin.
By experimenting with various tools and techniques, you'll soon be able to craft realistic portraits that are full of texture and character!
How Can I Make My Drawings Look More Realistic?
Making drawings look more realistic is an essential step for any portrait artist. This can be achieved through the use of realistic shading, adding detail, color mixing, light sources and color blending.
Realistic shading involves creating shadows and highlights to give depth and character to the drawing. Pay attention to which direction the light source is coming from and how it affects the shadows and highlights on your subject. Adding detail will also help make a drawing look more realistic. Here, an artist should pay attention to the textures of clothing folds or skin wrinkles, as well as other details such as hair strands or facial features that give life and character to their artwork.
In terms of color mixing and blending, this plays a crucial role in making a drawing appear three-dimensional and life-like. The key here is to pick colors that accurately depict what you are trying to achieve with your drawing while also incorporating various shades of each color - this can be achieved using different types of media like watercolors or markers - in order to add depth to your work. Finally, paying attention to light sources can be very helpful when creating lifelike portraits since it helps you understand where shadows should fall on your subject.
By mastering these techniques for making drawings look more realistic, portrait artists can create stunning pieces that tell stories about their subject or evoke emotions from viewers. With practice, patience and perseverance anyone can become adept at bringing their artwork alive with realism!
What Materials Do I Need For Portrait Drawing?
The core materials you’ll need are pencils and paper. For portrait drawing pencils, look for ones that offer a range of hardnesses and softnesses so you can layer your lines and create subtle shading effects. When it comes to sketching paper, heavier-weight papers are better suited for portraits since they won’t warp or tear as easily as lighter-weight papers.
To complete your portrait drawing kit, consider investing in an eraser, kneaded eraser, sharpener, and blending stump. An eraser is useful for making corrections and cleaning up areas of your drawing; a kneaded eraser can help you lift out areas of graphite; a sharpener will keep your pencils pointed; and a blending stump will allow you to blend smoothly.
Having the right materials for portrait drawing allows you to produce artwork that looks professional and polished. Invest in quality art supplies—from pencils to paper—and use them with care so your drawings turn out just how you want them.
Conclusion
It’s important to spend enough time on each portrait. Don't rush the process-- take your time and enjoy the journey. It's also helpful to choose a reference photo that you're inspired by and that closely matches the desired outcome of your portrait drawing. To add texture and realism to your drawings, experiment with various shading techniques such as hatching, cross-hatching, stippling, and blending.
Finally, it's important to use the correct materials for portrait drawing. This includes high-quality paper or canvas, graphite pencils ranging from 2H-8B hardness grades, kneaded erasers, blending stumps or tortillions, an A2-sized drafting table or large drawing clipboard if possible and something soft like cotton balls to dust away excess graphite.
Overall, with some practice and patience you can create beautiful portraits that look incredibly lifelike - all you need is the right approach and materials!